
Hi Folks:
A little while back we did a post on Affinity Photo, HDR and Panoramas; this is a follow-up of sorts to that.
Marcia and I were out at Rithet’s Bog recently and among the images made that day I took six images that were made into a panorama. When one creates a panorama in Affinity Photo (or any other panorama program), the software uses control points (matching features in two or more images) to bend, stretch, twist and manipulate the individual images into something resembling one image. In the film days this was called a photo-mosaic and its completion was much more complicated. In any event, the result inevitably ends up with having some ragged edges, depending on how well one lines up the base images. An example:

Now, normally at this point one would use the Crop tool to cut off those ragged edges and convert the image into a rectangular format:

However, Affinity Photo has a tool called Inpainting, and essentially Inpainting uses the surrounding pixels to try and interpolate what should be in those blank spaces. Users of Photoshop would know this as content-aware fill. This is different than the healing brush in Lightroom or Capture One, for example. How well Inpainting works depends on several factors, including the size of the blank area and the complexity of the image. Sometimes it works well, sometimes less so.
On the tutorials page for Affinity Photo there’s a video on how to create, store and use Macros and for the purposes of the tutorial they show how to inpaint the edges of an image after rotating it. The concept works equally for panoramas. Since one begins with blank spaces that need to be trimmed anyway, there’s nothing to lose by inpainting the image before cropping it (if necessary). If we inpaint this image, it looks like this:

At first glance it doesn’t look too bad, but there’s an area on both the left and right sides of the frame that didn’t fare too well. Again, this is entirely image dependent. Here’s a close-up:

The challenge can be that it’s sometimes difficult to see what was original image and what was inpainted and, from that, exactly where to crop. Hence comes the tip.
Before inpainting, use the Rectangle tool on a new layer to match the outline of where you would have to crop without inpainting. Set the fill to Transparent, and set the outline to 10 pixels or so. The border colour depends on the colours in your image. That gets us to this point:

Now after inpainting we have some sense of where the border would otherwise be and we can use that as a guideline for the Crop tool. In this case I was able to extend the crop borders a little bit beyond the rectangle without encountering any egregious errors:


So there you go. A quick tip, and we trust it will be of some use to you.
Before we go…
As you’ve probably noticed, there’s an incongruence in the colours in the sky in the upper-right quadrant of the image. If you’re using Capture One as a raw processor, there’s a built-in function for just such an occasion: On the Colour Editor tab, choose the Skin Tone tool:

Although (as the name implies) it’s used primarily to harmonize colours on a person’s skin, it has its uses in landscape photography as well. Here I used the Colour Picker to select a colour from the sky, and used the Uniformity sliders to harmonize the errant sky colours. Using Capture One’s Before/After slider, we can see the difference it made:

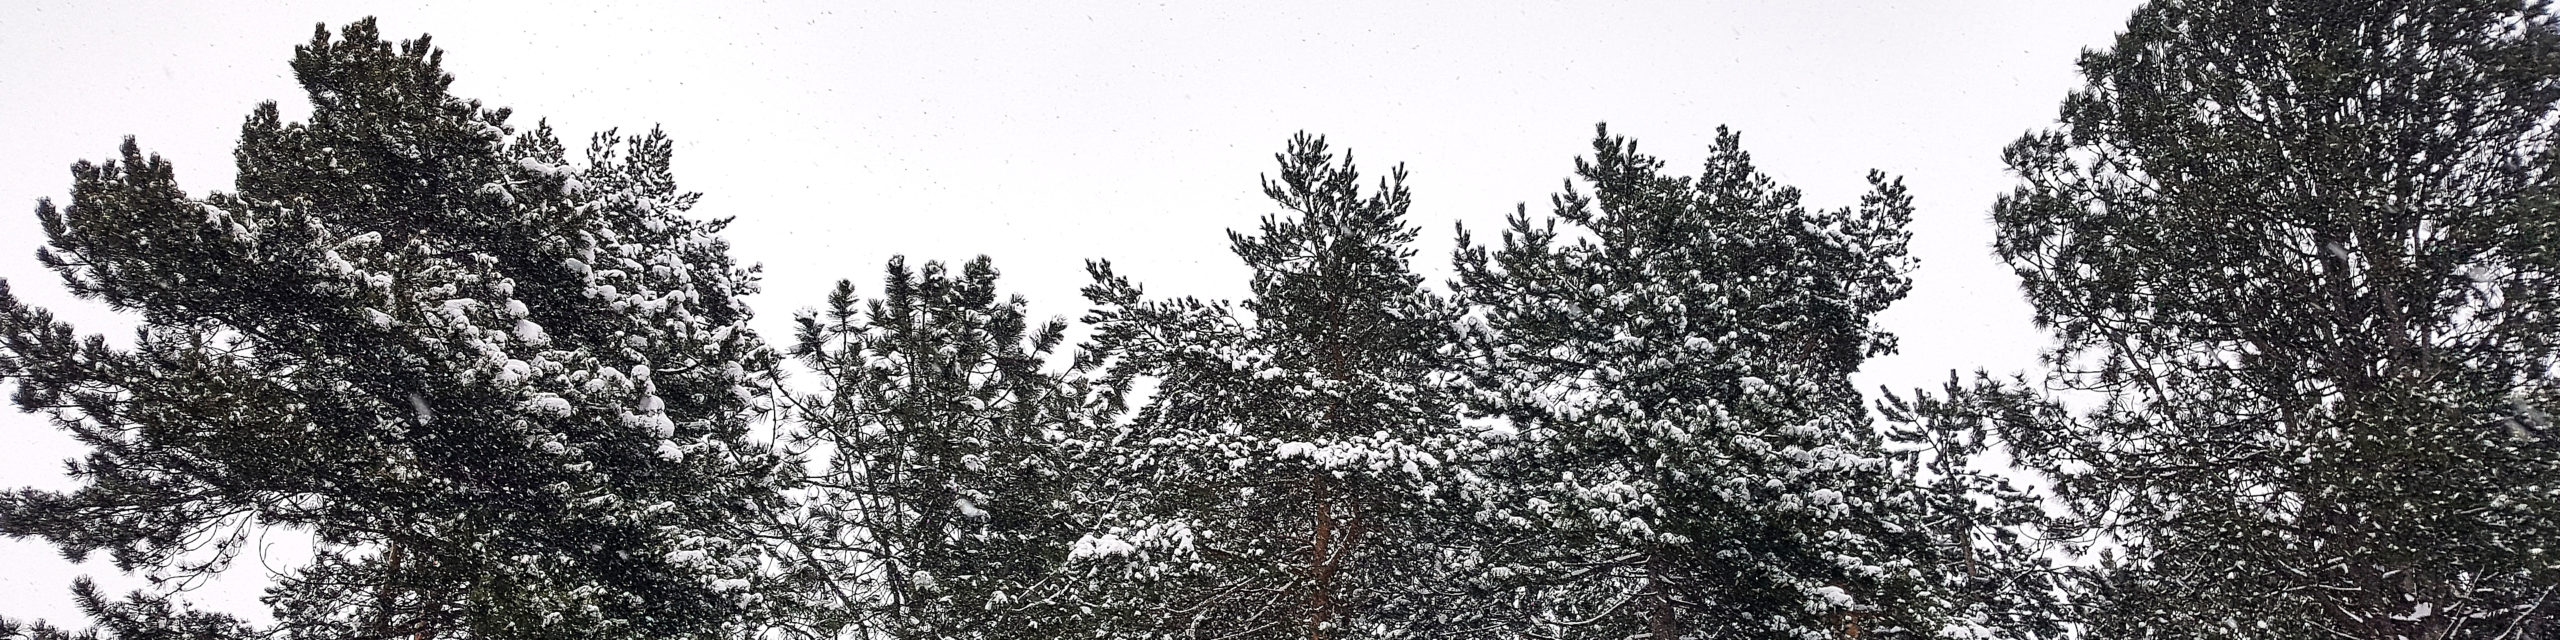
After doing some basic processing I also wanted to accentuate the detail in the foreground trees and grasses without necessarily adding extra detail to the clouds. In this case it was fairly simple.

In the Advanced Colour Editor I selected all of the colours except the blues in the sky and used that selection to make a colour mask layer. After adding a slight radius adjustment to the mask, I added some Clarity/Structure and some Sharpening to only the foreground. Here’s the final result:

Okay, that’s it. Now go out and make some photographs!!
Hugs,
M&M