
Hi Folks:
Although I’ve made a number of posts concerning my panorama photography, this isn’t a tutorial per se. It’s basically a visual description of the components I have for making stitched panoramas. If you’re interested in our other (tutorial) posts on making panoramas or have any questions, feel free to leave a comment, fill out our contact form, or click here for our other panorama posts.
Okay, before I begin I have two provisos. First, if careful, one can make the base images for stitched panoramas handheld. This depends in part on the distance from the camera to any foreground objects and largely on your understanding of the entrance pupil of the lens you’re using. Each lens has an entrance pupil, an exit pupil and two nodal points, but we’re not going to get into that here. Basically, the issue is parallax. A quick way to understand parallax is to do this. Hold your arm out straight with your thumb up, and look past your thumb to some object in the distance. Close each eye alternately, one at a time, and your thumb will appear to move. This is because each eye has a slightly different angle of perspective between the thumb and the background. Now, keep one eye closed and rotate your head slowly from side to side. Again, your thumb moves in relation to the background object. This is because your eyes are forward of your spine, which in this case is the axis of rotation. This difference in perspective can create problems with stitching errors when combining the images into one panorama. For more on this, click here.
To make panorama images handheld, you need to know the location of the entrance pupil of your lens and rotate the camera around that point. If you’re using a zoom lens, you’ll need to know the location of the entrance pupil for each focal length. The diaphragm of the lens is a good starting point. Set the lens on your thumb with your thumb lined up with the entrance pupil and turn the camera around that point. You also need to move your body and keep the camera in the same place when rotating. A good guideline for doing this is to put something on the ground (a coin, bottle cap or equivalent) and rotate the camera around that base.
The second proviso is that I have a GigaPan EPIC 150 motorized panorama head. It was created long before mirrorless cameras existed, but it works well with my Sony A7RIII camera and the Sony FE 55mm lens. Once the head has been calibrated and the camera set up, one only needs to set the top left corner and the bottom right corner of the desired frame and the panorama head does everything else. There is a cost for this in that the head weighs in at 1.8kg (3.9lb) without the camera attached, and is basically a 21x22x13cm (8.3×8.7×5.1in) cube. Trust me; after carrying this along trails for a while, the weight is noticeable. Using it requires commitment, but the results are unparalleled.
 Okay, on with the show. I’m going to list the components that I have in order from bottom to top and illustrate how they fit together.

At the base we start with the tripod itself. My current tripod is a Cullman 2904. What the image won’t show you is that this tripod and I have been together for 42 years. It has traveled across Canada from the Atlantic ocean to the Pacific ocean, and as far south as Colorado. It’s been to Iceland and the Netherlands.
 Having a level base for making panoramas is essential. My tripod has a cold shoe (top left) into which I can fit a hot shoe bubble level and that’s handy to some extent, but creating a level base using only the tripod legs is an exercise in frustration.
 Therefore, the next piece is a leveling head. This attaches to the tripod’s centre column and allows tilting by 15° in any direction. There are some tripods that come with a leveling head instead of a centre column, but I don’t currently own one. The tripod bubble and legs get me part of the way, and the leveling head gets me there.
 If I was using the GigaPAN head, I could stop there. As long as its base is level, the head figures out the rest. However, for the purposes of this post we’ll continue. The next piece is a Cullman ball head. I also have a pan/tilt head, but for this the ball head is more convenient. The upper screw on the head allows the ball head to rotate smoothly in any direction, and to tilt 90° for making vertical panoramas. The lower screw allows me to rotate the head 360° on the leveling base.

Cullman has its own quick release plate, but it’s not Arca Swiss compatible and the ballhead doesn’t have one. To that end, I add a quick release plate next. I believe Arca Swiss developed the 32mm quick release plate in the mid-1950s and it has become an international standard. The plate here serves three purposes: First, because the top of the ball head can be rotated in any direction, the bubble level on the plate allows me to return the top of the ball head to level. Second, the quick release plate allows me to attach the next piece (the nodal head). Third, it allows me to set the offset for the nodal head depending on the lens I’m using.

As mentioned, the next piece is the nodal head. The scale on the sides of the head allow me to set the calibrated offset for each lens. For example, with my Sony FE 55mm lens, the offset is 55mm. For my Sony FE 24-105mm lens, the offset is 30mm at 24mm focal length, and different for the other focal lengths. While you can’t see it, the plate above has a label stuck to the bottom with the offsets for the different focal lengths I have. The camera (Arca Swiss compatible plate) sits on the right side.

Here you can see the side of the nodal head with the 30mm marking on the scale aligned with the 0 on the quick release plate.
 Next is an (Arca Swiss compatible) L bracket. One could simply attach a quick release to the bottom of the camera, but having the L bracket means that I can mount the camera horizontally or vertically depending on the images I’m making.

 This is the setup, from top to bottom. Because it’s modular it can be taken apart, stored in backpack pockets and later quickly assembled. All of the pieces combined weigh in at about half of the weight of the GigaPAN head. It’s not as convenient in use, but those are the trade-offs.
 The last piece in this setup is a remote camera trigger. Like the L bracket one could dispense with it (using the camera’s built-in self timer) but I find that using an electronic shutter and a wireless remote yields the least amount of camera shake. The receiver sits in the hot shoe of the camera and connects via a micro-USB cable. The transmitter is handheld and has a convenient wrist strap.
 So. After all that, does it work?
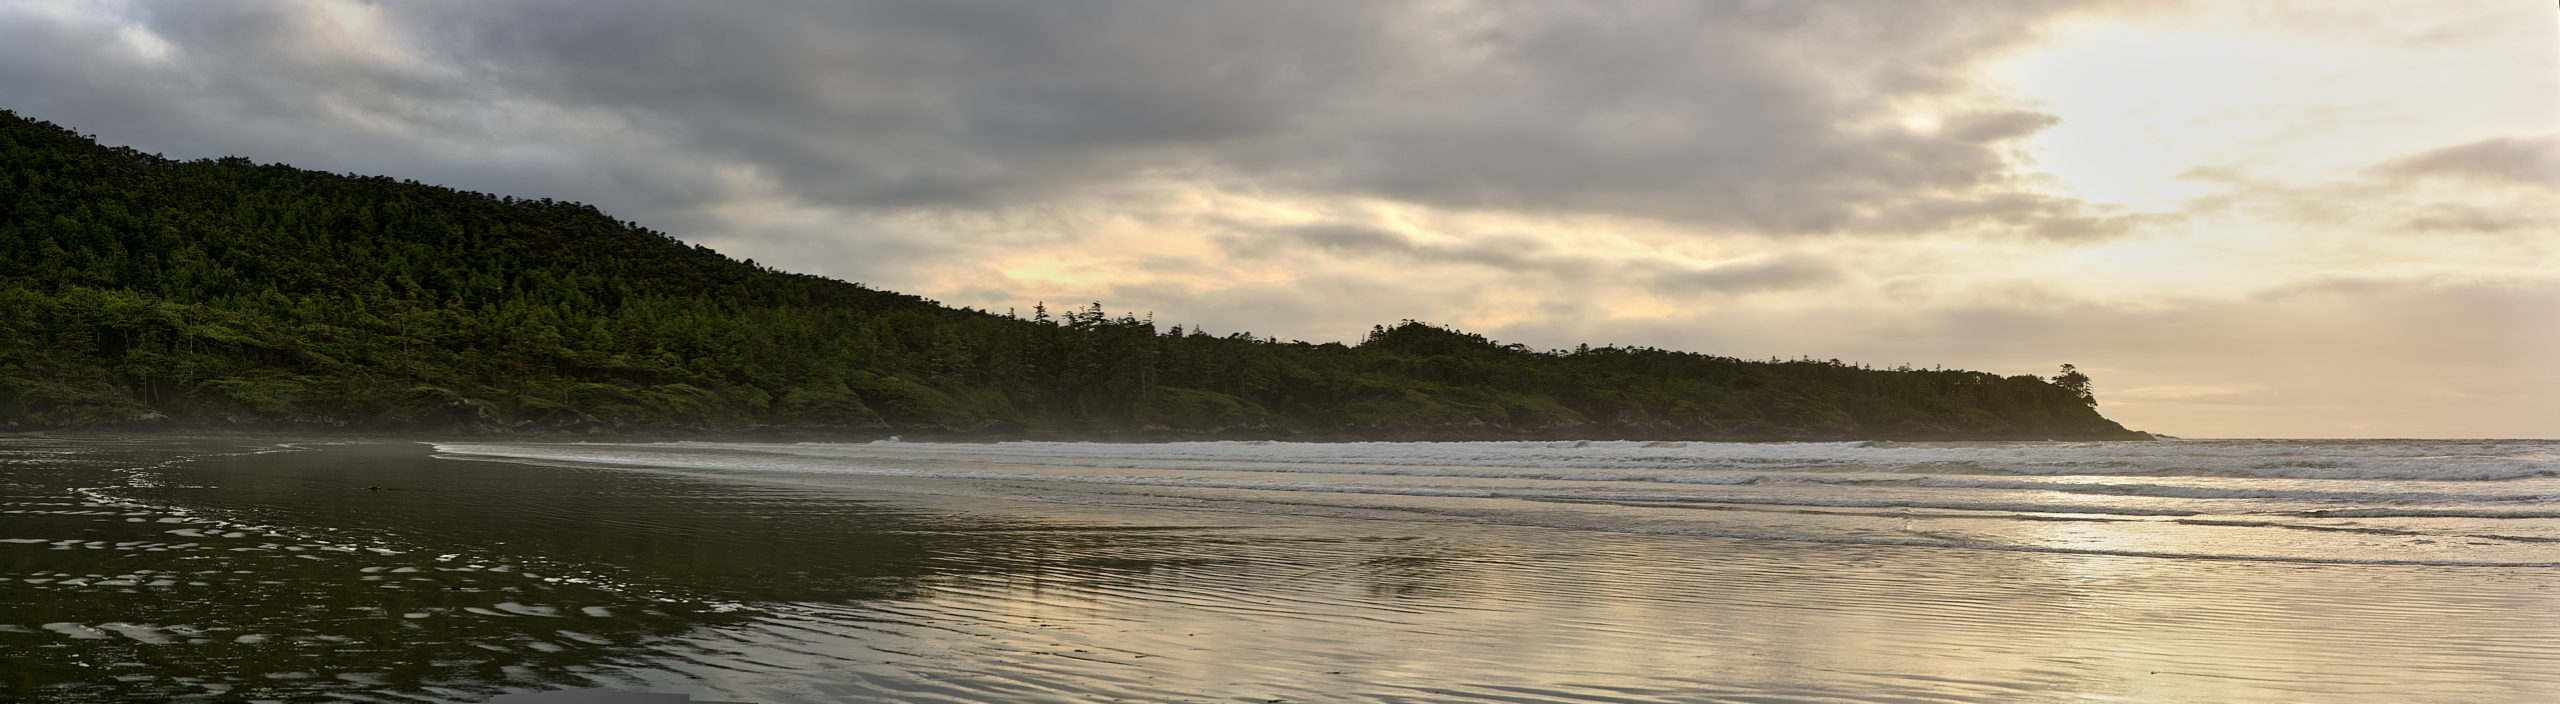
I’m including two images here, made with this equipment. Neither are very exciting images in themselves, but they illustrate the concept. The first is a simple 7-image, single row panorama. As I mentioned at the top, if you’re careful this is the type of image that you could make handheld.


The second image is a bit more of a challenge. This image is basically a grid of images with 4 rows of 9 columns. If I was making a serious image, this is the type of work for which I would normally use the GigaPan head.

 Okay, that’s it! Now go out and make some photographs!!
Before I go, I want to mention that I’m very careful with recommendations because when I recommend something my reputation goes with it. Cullman is a German company, and as such not as well known (at least here in North America) as Gitzo or Really Right Stuff for example. However, when I’d had this tripod for about 27 years, it was damaged during a house move. I wrote to Cullman and explained the problem and they sent me a parts diagram. I let them know the parts I needed, and they shipped them to me for free. That was both unexpected and delightful.
As you can see I’ve bought a few pieces from Leftfoto. A Chinese company, I’ve found their work to be well made and their prices reasonable. For example, their 150mm nodal head is $35 CAD. A 200mm nodal head from Arca Swiss (no doubt of excellent quality) is $250 CAD. I have less experience with SmallRig and with Aodelan but so far they’ve both worked for me.
Hugs,
M&M
P.S. Depending on your camera sensor, making stitched panoramas can yield some very big images. Each raw file from the Sony A7RIII is 7932×5304 pixels, about 80MB. The driftwood image above is 41033×10037 pixels, about 1.5GB The forest image is 59535×32765 pixels and at full (nearly 2 billion pixels) resolution is well over 4GB. When you get into this territory, .dng and .tif files must yield to .psb files. Just because I sometimes try to make smoke out of my little computer, this image of Georgina Point lighthouse is an HDR composite of 65 images.


