
Hi Folks:
It was a dark and stormy night. I’ve always wanted to write that… haven’t you? Okay, in this case it wasn’t night (mid-to-late afternoon) and it was sunny rather than stormy, but it was dark. Marcia and I were on a trip to Tofino, BC and I was wandering along the boardwalk of the Rainforest Trail in the Pacific Rim National Park Reserve. The elder trees soaring above me blocked out much of the daylight, but they were the reason I was there.
Before we get too far, a few basics to get out of the way. First, I was shooting with a Sony a7Riii camera with the FE 24-105 lens, set to 1/125th second and f/6.3. ISO was set to 5000, but we’ll get to that later. I didn’t bring a tripod that day, but I did have my camera sitting on a Manfrotto monopod. Second, I have no idea what you see when you look at these images. This is partly because I don’t know if your monitor has been calibrated and profiled, and partly because I don’t know if you’re using a web browser that allows colour management and/or if you’ve enabled that. In the end none of that really matters because this is essentially an apples to apples comparison. I should note that this post isn’t targeted toward beginner photographers, but if you read something you don’t understand, please feel free to leave a comment on this post or fill in our Contact Form. The only stupid question is the unasked one.
There are three software packages in this game: Capture One 23 (16.1) is my raw editor. PTGui 12.20 is software for stitching panoramas, and Topaz DeNoise AI 3.7.2 is noise reduction software. AI is a term used ubiquitously these days, but the only intelligence involved here is still with the programmers. AI software uses very large databases of information and certain algorithms to make what one might call educated guesses as to what the user wants. Also, when processing in any of these packages there are what are known as auto adjustments (I’ll refer to them here as AA) and there are also sliders whereby one can tweak the suggested settings. With the exception of the final image, I stuck to AA in order to keep the processing as equivalent as possible.
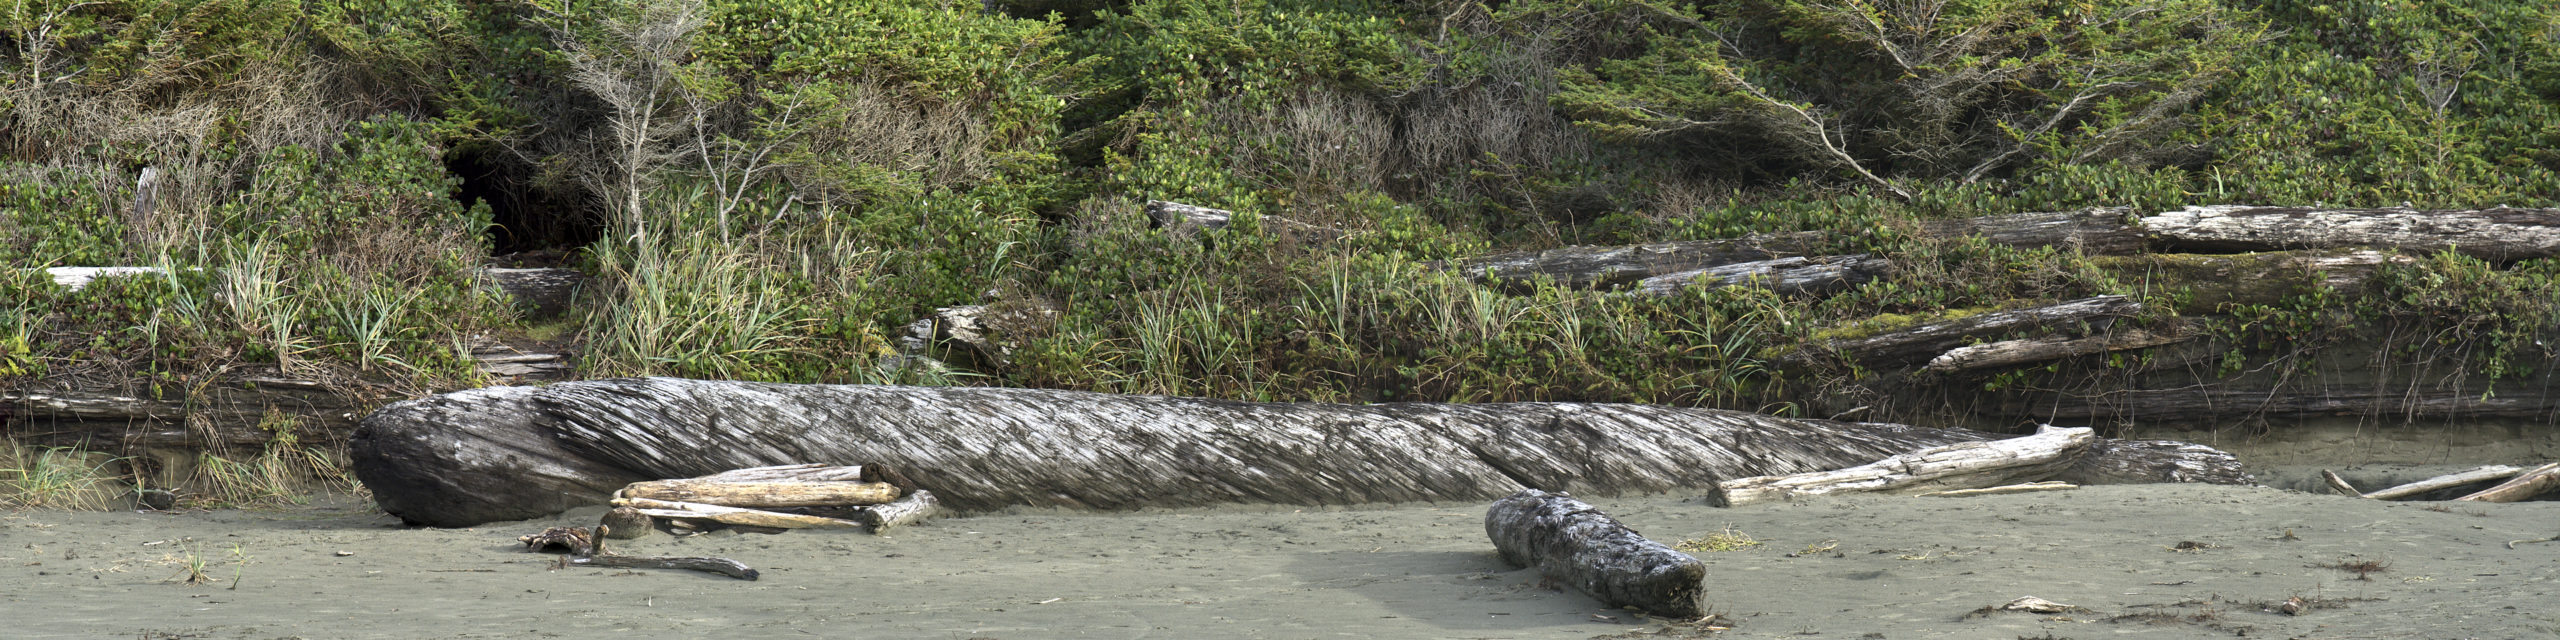
Okay, let’s get started. I was in the forest that day largely to make images of the big trees, and I do this by making three or more separate images of a part of the scene and then linking them up and pushing them around in software. For this post, the three base images I used are these (NB: click on any image to see it larger):


The most obvious thing is, yes, they’re quite dark. A shutter speed of 1/125th second was the minimum I felt I could get away with, even with the monopod. The tripod would have been more stable but it takes longer to set up/take down, and being on a boardwalk must be moved every time someone else comes by. It is what it is.
Using Capture One’s AA settings on the first image and zooming into 100%, we get this:

I know what you’re thinking: not exactly great… but bear with me.
Now, there are three separate elements here: panorama creation; image processing; and noise reduction. Is there an optimal way to do these? That’s what I was trying to discover.
I’ve tried many different panorama creation software packages over the years. Currently I have two (three) options for this. Recent versions of Capture One have their own built-in panorama and HDR creation options and for a v.1 they’re pretty good at what they do. I have Affinity Photo as a pixel editor and while I have used it for panorama creation, I don’t use it for that anymore. The third option is PTGui, which is arguably the best panorama creation software currently on the market. For this experiment I used both Capture One and PTGui to create separate panorama composites from the three base .arw files. NB: Capture One’s output is a raw file in .dng format. PTGui’s output is a rendered output in .tif format. I work in ProPhoto RGB as much as I can, although output files need to be rendered to sRGB for web viewing.
Having created the panoramas, one can either apply the noise reduction to the original file or after post-processing and I was wondering if where in the pipeline one did noise reduction made a difference. As it turns out, it does.


The image on the right is the output image from PTGui. I’ve made some perspective correction and cropping adjustments but nothing else. The image on the left has Capture One’s Auto Adjust applied. While I’ve never finished processing an image with AA I sometimes find it useful as a starting place. If we zoom into 100% again, we get this:

The image on the left here is the first raw file above (exposure adjusted), zoomed into 100%. The image on the right is the exposure adjusted PTGui panorama, also zoomed in to 100%. As you can see, PTGui has added a lot of colour noise, but there’s more apparent edge detail in this image than the original.1
The next question was whether it was better to do the noise reduction to the original panorama or after exposure adjustment, etc. It should be noted that one should never sharpen before noise reduction as one is adding sharpening to the noise.

I ran the denoise algorithm twice, once with the adjusted image and once with the base image. In both cases I used the Low Light option in Topaz DeNoise and used the automatic settings for consistency. There’s quite a difference between the two. It should be mentioned that when using an external editor (like Topaz Denoise) for Capture One, Capture One first creates a separate .tif file of the original before handing that off to the other software. Changes made in the external editor are updated to this secondary .tif file. The image on the left had the exposure adjustment done first and then the denoise. The image on the right had the denoise done first and then the exposure adjustment. The image on the left is clearly much better.
The next step was to do the same thing, creating a panorama within Capture One:


Again, the image on the right is the resulting panorama with only perspective correction and cropping applied, and the image on the left is a virtual copy with Auto Adjust settings. In both PTGui and Capture One I used a Rectilinear/Perspective projection, but each software package renders the result a little differently. If we look at the image on the left at 100% we get this:

The Capture One panorama is a raw file (.dng) and so lacking contrast and saturation may be a part of it but I would have expected Capture One to compensate better for that in its auto adjustments.

This is a comparison between the PTGui image on the left and the Capture One image on the right. The Capture One image has much less colour noise, but also much less definition. One thing I found curious was that while both compilations were made from the same three raw files (7952×5304 pixels) and using a similar projection, the output files are quite different in size. The PTGui image is 7824×16416 pixels whereas the Capture One image is 3370×7346 pixels. Again, it is what it is, but I had to zoom to 200% on the Capture One image to get an equivalent view.
As with the PTGui compilation, I ran the denoise on both the original panorama and the adjusted one. This time the results were quite different:

Again, the image that had exposure adjustments, etc. is on the left and the base compilation is on the right. Contrary to the PTGui output, the base image here produced a much better result. Doing a side-by-side comparison of both sets of results, we get this:

The image above shows the results from both the PTGui panorama and the Capture One panorama noise reduction processes. Again, the choices were to do the AA exposure adjustment first and then the noise reduction, or to do the noise reduction first followed by the AA exposure adjustment.
The image on the left is clearly the best. This is the PTGui panorama, exposure adjusted with Capture One AA followed by Topaz Denoise. The second image is the reverse and is showing a lot more residual noise. If one doesn’t have PTGui and relies on Capture One to make the panorama, then the opposite is true. The fourth (right) image is the Capture One panorama with Topaz Noise adjustment first, followed by Capture One AA exposure adjustment. The third image is the reverse of the fourth and again, not nearly as good a result.
With old trees like this I often present them in grayscale. Starting with the image on the left, above, after pushing the sliders around in Capture One and completing the post-processing we arrive at this:

If we compare the Auto Adjusted RAW file (100%) with the finished image, we get this:

A bit of a difference to be sure… A few years ago I wouldn’t have been able to achieve this.
That covers the first two items in the title, leaving ISO invariance. To understand the concept you really need to understand photon noise, upstream read noise and downstream read noise. I’m not going to go into that here, but if you’re interested you can do a quick search for it and you’ll find any number of articles.
In short, we start with the idea that every scene has ___ amount of light. It may be natural light, artificial light, some combination of both… doesn’t matter. To make an exposure, we have two ways of controlling the amount of light that reaches the camera sensor: the diameter of the lens diaphragm (f/stop) and the amount of time the sensor is exposed to light (shutter speed). In the film days, a given film had a certain sensitivity to light (ISO – International Standards Organization value). We could sometimes compensate for that sensitivity when processing the film but that’s an entirely different topic. Since film is basically a bunch of tiny silver salt blobs stuck onto a piece of plastic, in order to make the film more sensitive to light we need to use bigger blobs. This results in a coarser grain, with low ISO films able to show finer detail.
Some people think that the same holds true with digital cameras – that high ISO introduces more noise. This isn’t necessarily so. With digital sensors, the light (photons) hitting the sensels of the sensor (probably simpler to think of them as pixels) release electrons and that electrical charge is measured by the camera. The amount of light reaching the sensor is both amplified and converted from an electrical signal to a digital value. ISO settings in a digital camera determine the amount of light amplification. There are two different levels of light amplification – analog and digital. The first doesn’t amplify the noise in the image but the second does.
There are several factors at play in this, including the amount of noise produced with the image. ISO invariance means that if you made an image at say IS0 100 and -4 EV (four stops under exposed) and made another image at ISO 1600 and 0 EV, when you bring them into your RAW editor and increase the exposure of the first image by 4 stops, the two images should be identical. To the best of my knowledge no camera is truly ISO invariant but there are some that come close. The Sony a7Riii has two levels of (mostly) ISO invariance: the first is from ISO 100-400 and the second is from ISO 640 to ISO 51200. In this scenario, an image made at ISO 800 and four stops underexposed and an image made at ISO 12800 and 0EV should be nearly identical after post-processing. I haven’t really tested this yet with my own camera (on the to-do list), but there is one major difference between the two choices: dynamic range. Dynamic range refers not to the amount of light and dark areas in an image but that ability of the camera to distinguish between them:

This chart shows a difference between virtually no dynamic range (black/white) to 32 stops of dynamic range on the bottom (NB: you should be able to see all 32 of the separate bars in the bottom row. If you can’t you need to adjust your monitor).
Now, if you look up the specifications for the Sony a7Riii it will say it has 11.5 stops of dynamic range. That’s great! That’s also only at base ISO (100). By the time we get to ISO 12800 our dynamic range is down to 6.4 stops. Pick any bar on the chart above and look at the one above it and you’ll get the idea. Again, I need to invest more time in this with my own camera to explore real world results.
Okay, that’s it for now. Go out and make some images!
Hugs,
M&M
1 In PTGui Pro it’s possible to add exposure compensation within the panorama editor window before creating the panorama. I tried that to see if it would make a difference in the amount of colour noise in the output file. It didn’t make any difference.
Awesome creativity with such variations in results, A feast for the eyes. I don’t understand all the settings and controls but you, sir, seem to have a real mastery in that field. Must come from years of practice, and success. I suppose there was/is trial and error along the way, one of many variables in our learning experiences.
Kudos to you!
G/
Many thanks for your kind words! Been making images for more than fifty years now. A little trial and error along the way… I could say I’ve been self-taught but that would be a lie as I’ve learned much from our photo books library and online articles/videos.
Hugs,
M&M