Panoramic Photography and Stitching “Errors”

Hi Folks:

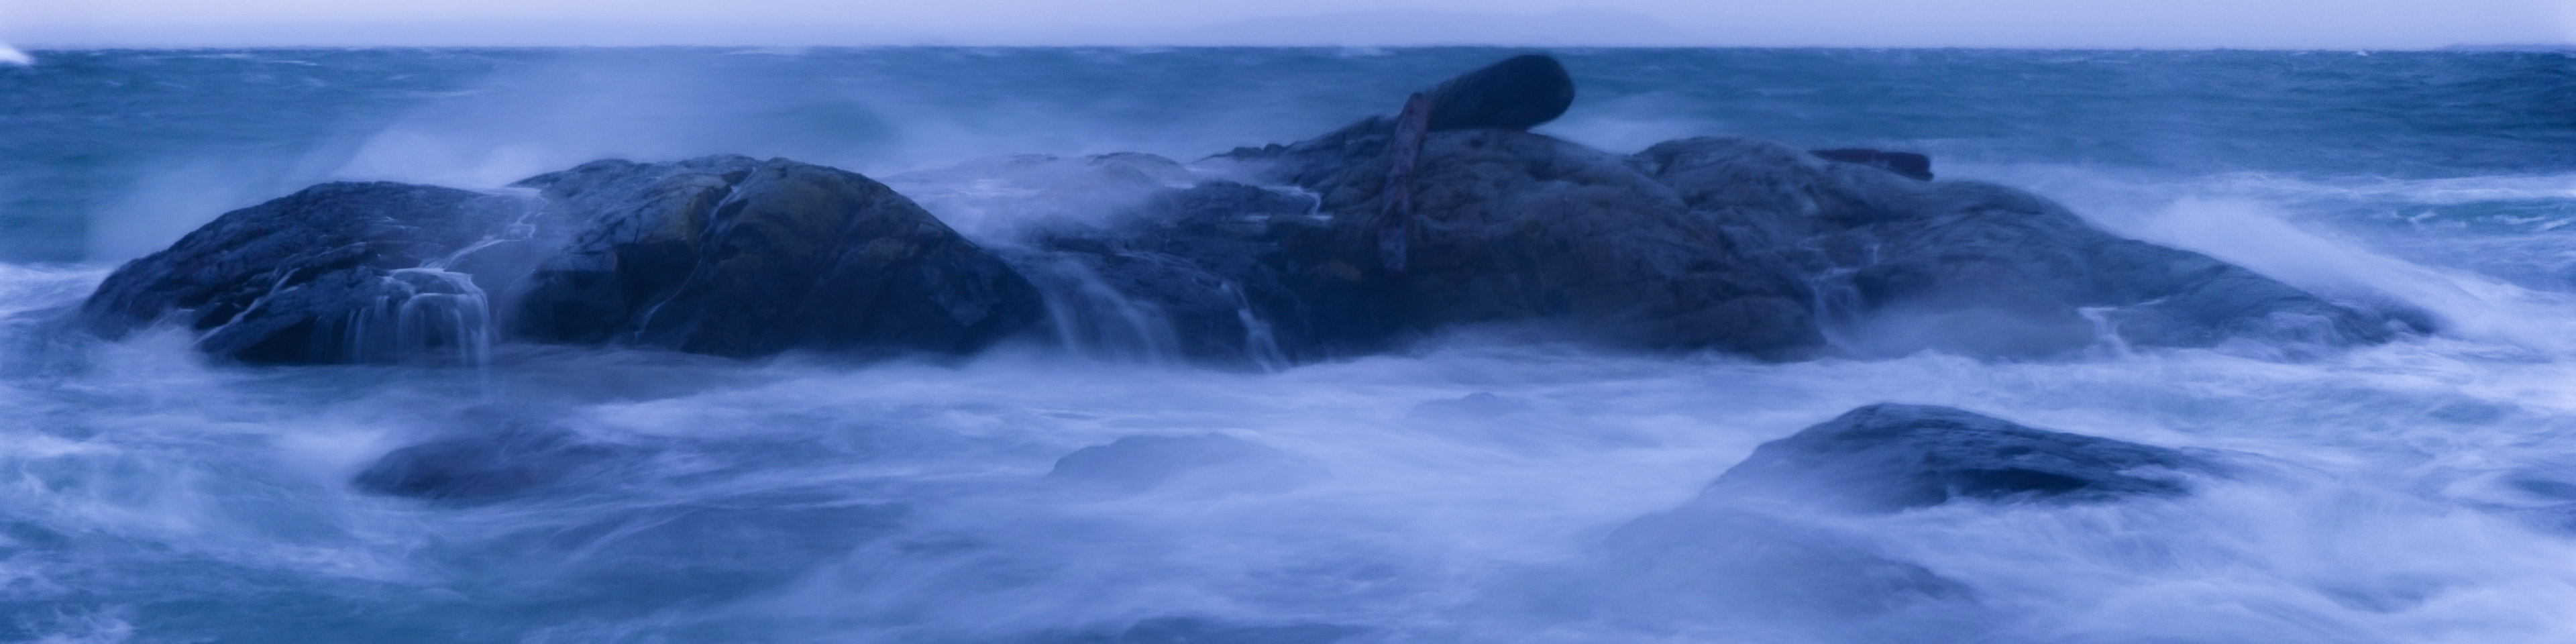
In a previous post I rambled on a bit about panoramic photography – basically a system where one combines several images into one using software designed for that purpose. One can also take several images of the same scene at different exposures and combine them into one HDR image using the same software. Mostly I use Autopano Pro for stitching, although I’ve also used Hugin, and since I work extensively in Lightroom I’ve been playing a bit with Photoshop CS5‘s HDR Pro and panorama tools as well. To create a stitched image the software looks for the same points in two or more images and assigns them as ‘control points’. The combined image is then mapped around those control points. Usually this works very well, but in my previous post I talked a bit about parallax errors and things like that, and sometimes these images don’t get mapped together perfectly. This can create situations like this: Continue Reading →

Deleting Old Lightroom Backups

Hi Folks:

I still remember a computer teacher of mine from… let’s just say more than twenty years ago… telling us of a project where he gave everyone in the class several pages of text to type in, set them to it and waited until they were about 2/3 to 3/4 of the way done, then turned off the power to the computer system.  Amid the groans of everyone who was sitting in front a terminal he said, “Let’s talk about backups.” Continue Reading →

Photo of the Month

Hi Folks:  Well, if you promise not to mention that the ‘photo of the month’ post was due yesterday, I’ll pretend not to notice!

At a meeting of our local photography group recently, several people did presentations of images based on a specific theme.  Mine was on ‘faces’.  I should explain that I’m not a people photographer, and people appear in far less than 5% of my work.  I shot a wedding, once, and swore I would never do it again.  However, as a landscape photographer one thing I like to do is to look for ‘faces’ and things in other objects.  Sometimes they’re fairly obvious and sometimes they’re more elusive.  If you go through my Flickr photostream you’ll find a number of such images, but I chose one to highlight as April’s photo of the month.  It’s a piece of driftwood I found along the shore on Dallas Road – nearly an entire tree, in fact, and there are some good size rocks embedded into the roots.  However, looked at from the bottom of the tree the shape forms a fairly good representation of a human skull. Continue Reading →

Adobe Photoshop Lightroom – Playing with Presets

Hi Folks:

Update, April 16, 2015: The comment below reminded me of this post. I had forgotten about it because I subsequently wrote a series of five blog posts on the different ways to use presets in the nine Lr modules. If you’re interested, you can find the first one here: The Many Faces of Lightroom Presets: The Import and Library Modules.

This is going to be a relatively short post – for me anyway.  One of the (many) wonderful things about Adobe Photoshop Lightroom is the ability to use presets to speed up your workflow.  There are presets for everything from importing to exporting, for slideshows, prints and web galleries (although those are called templates), but for most people, I imagine presets refer to the Develop module presets.  Even in the Develop module there are presets for the sliders in the right-side panel and there are separate presets for the adjustment brush/ graduated filter, presets for the Crop tool (specific dimensions) and also for the Camera Calibration tools. Continue Reading →

Photo of the Month

Hi Folks:

Well, since yesterday was the last day of the month this post may be considered an ‘April Fool’s’ joke, but the only fool in this case is me. Besides, yesterday was Wednesday and Marcia’s ‘Poetry Corner‘ post and I didn’t want to compete! Yeah, like that’ll work. Oh well… 😉

So. March has been a busy month, photographically speaking. I made close to 2000 images this month, and while there are those who will shoot that and more in a day, I come from a world of 36 and even 12-exposure rolls of film so I’m still not used to the scattergun approach when it comes to imaging. Of those 2000 or so images, many were used as the basis for panoramas, or more specifically stitched images, since not all stitched images are panoramas, nor need be. Continue Reading →

Playing With Clarity in Lightroom

Hi Folks:

This is just a quick idea I came up with last month as I was playing around inside Adobe Photoshop Lightroom. The Clarity Slider is part of the Basic panel in the Develop module, and normally it’s used to increase mid-tone contrast in an image. In Lightroom 2.0 Adobe provided the option to use ‘negative’ clarity as well, which can be used to give all or part of the image a dream-like effect. I used negative clarity in my image titled ‘Do Bicycles Dream?’

http://farm4.static.flickr.com/3160/2716654561_26b3e657d7_o.jpg

It’s a tool, and like any tool, it can be used or abused. Anyway, this is my first spring here in in the city of flowers, and being a true Canadian I was both surprised and delighted to see crocuses and snowdrops peeking their heads out of the ground at the beginning of February. Up north February is synonymous with ‘mid-winter’. Not too far from where we’re living right now, one of our neighbours had their entire lawn erupt in crocuses and other flowers:

Crocus Panorama

Now, to extend the dyamic range of my hdr images I tend to use Timothy Armes’ LR/Enfuse plugin to combine the images I’ve made at different exposures. Thinking about how it works though, got me thinking about combining other sorts of images. I took a close-up image of my neighbour’s crocuses and processed as I would normally in Lightroom’s Develop module, then created a Virtual Copy of that image and turned the Clarity slider all the way down to -100. I then used the LR/Enfuse plugin to combine both images together. The result is below.

Blended Crocuses

At first glance it appears as though the image has simply had negative clarity applied to it, but there’s detail in it as well, especially if you zoom in on it. It would be possible to create something similar in Photoshop using layers and Gaussian Blur, but not exactly. Anyway, it’s just something to play with.

Have a great day,
Mike.

P.S. You can find more of our posts on photography and Lightroom tutorials here, and you can find links to over 200 other sites that have Lightroom tips, tutorials and videos here.

Photo of the Month – Making Small Creative Edits in Lightroom

Hi Folks: I usually dedicate the last day of the month to my favourite image made that month, but this month I’m going to do something a little different and dedicate it to an idea. I use Adobe Photoshop Lightroom (I currently have both LR 2.6 and 3 Beta installed) to do all of my file management, tagging, and pretty much all of my editing, etc. One of the biggest changes between LR 2 and LR1 before it was the ability to make selective rather than global changes to an image; I have no doubt that this will be expanded upon in LR 3 when it comes out, but we’ll have to wait and see. Now Photoshop is THE pixel editing program, and there is so much that can be done in Photoshop that can’t be done in Lightroom, so we’ll get that argument out of the way right up front. However, rather than be stymied by limitations, I always like to know how far I can take something – in this case Lightroom’s selective edit commands: the brush tool and the gradiant tool. I find mostly what I use them for is making very small adjustments. By small adjustments I’m talking generally ½ a stop or less. Still I think small corrections can make a big difference. I’m no Lightroom guru, but in all of the various Lightroom tips, tutorials and videos I’ve seen I’ve yet to see anyone cover this so I thought I’d give it a shot. Further creative effects may be achieved by changing the saturation, clarity, brush colour, etc. but this tutorial focuses solely on exposure adjustments. Continue Reading →

Celebrate What’s Right with the World!

Hi Folks:

This is a very quick post, but I wanted to point you in the direction of the following website.  Photographer Dewitt Jones has created a site called ‘Celebrate What’s Right with the World!‘ that will be updated weekly… Each week he’ll post a new image, with the underlying theme of celebrating what’s right!  Each image is beautiful on its own, and in taking a moment or two to appreciate it, give yourself permission to appreciate that moment and to give thanks for all that’s right in your world!  Practice senseless acts of beauty and random acts of kindness on a daily basis.

Hugs,
Mike.

P.S.  Our friend Samantha Standish has two blogs that also focus on this idea of beauty: Zuli Love and The Power to Flower.

P.S. II (the sequel)  If you’re interested you can click here to see some of my ideas of beauty in the world.

Gatherer of Clouds

Hi Folks:  I’m currently reading the book ‘Gatherer of Clouds‘ bySean Russell, and I wanted to share a few pages that jumped out at me.  In a way it connects to the ‘Becoming a Better Photographer‘ post that I wrote a week or two ago.

The book is set in a mythical Oriental land, somewhere around a thousand years ago I’d say, based on the plotline of the book.  What I’m including here is Chapter 6, pp. 64-68.  I think it’s well worth considering.

Mike. Continue Reading →

Photo of the Month

Hi Folks:

It’s been a busy month of writing and blogging and other things, but I have managed to sneak out with my camera for a time or two!  This month I thought I’d make the focus (pun intended) of my ‘photo of the month’ page an HDR image.  The image below is a combination of nine photographs made at different exposures.  Now most photographers today are at least somewhat similar with HDR, but in my experience most people associate it with the grungy, grainy look that HDR is most famous for.  It has its place, but in my experience it’s overused.  Besides, HDR stands simply for ‘High Dynamic Range’ and is quite useful as a technique for expanding the dyanic range (the number of tones, from white to black) in an image where the tonal range of the scene is beyond the camera’s ability to capture it.  There’s an excellent article on HDR by Alexandre Buisse here.

That’s certainly the case with this image.  It was made in a local park called ‘Christmas Hill‘, and it’s one of my favourite places in this area to make photographs.  Capturing the detail in the shadow areas without blowing out the highlights where the sun strikes the moss was beyond the camera’s sensor.  I uploaded the images into Lightroom, and then used Timothy Armes’ LR/Enfuse plugin to combine them into one blended image.  Post processing included the usual (white balance, black point, white point, etc.) as well as some graduated filters to highlight the sun spot.

Click on image to see a larger version

So, that’s it for now.  Go out and make some photographs!

Mike.

P.S.  I came across this great tutorial yesterday by R.C. Concepcion on using Shadowbox JS to integrate a Lightroom web gallery into a WordPress blog.  Maybe next month…

P.S. II, the Sequel: You can find more of our posts on photography and Lightroom tutorials here, and you can find links to over 200 other sites that have Lightroom tips, tutorials and videos here.