
Hi Folks:
Well, since yesterday was the last day of the month this post may be considered an ‘April Fool’s’ joke, but the only fool in this case is me. Besides, yesterday was Wednesday and Marcia’s ‘Poetry Corner‘ post and I didn’t want to compete! Yeah, like that’ll work. Oh well… 😉
So. March has been a busy month, photographically speaking. I made close to 2000 images this month, and while there are those who will shoot that and more in a day, I come from a world of 36 and even 12-exposure rolls of film so I’m still not used to the scattergun approach when it comes to imaging. Of those 2000 or so images, many were used as the basis for panoramas, or more specifically stitched images, since not all stitched images are panoramas, nor need be.
Basically stitching is a process of combining more than one separate image into one combined image. When making the individual images to stitch together, one overlaps each image by at least 30% or so. To do the stitching the software looks for and matches the same object in two or more images, and assigns these as ‘control points’, then stretches the remainder of the images to fit in with these points. There are two main problems with stitching. One is that cameras use a radial or gnomonic rather than an orthographic projection, and the other is parallax. Having a radial projection is a function of the way a camera and lens works, so there’s not much we can do about that. Parallax, loosely defined, means that objects appear to be in different places from different perspectives. Hold your thumb up at arm’s length and close each of your eyes alternately and you’ll notice that your thumb appears to be in two different places relative to the background. This is parallax. There are two different ways to deal with parallax when making stitched images. One is to use a tripod with a special head, but to use this equipment requires determining the nodal point of each lens for each different type of camera you have. Again, loosely defined, the nodal point is the place along the length of the lens barrel where one may rotate the camera without introducing parallax errors into the combined image. Keep in mind that with a zoom lens, the nodal point changes with focal length. For more information determining the nodal point of your lens I suggest:
There are other resources available but that’s enough to get you started. As far as panoramic tripod heads, there are several companies that make them. Nodal Ninja and Really Right Stuff are two of them. If you’re making gigapixel images there are even electrically-controlled geared heads similar to those used for astronomy, but I’ll leave you to find them on your own.
I should add in here that this equipment is for digital or film cameras with standard lenses. Tilt-shift lenses add more opportunities for perspective correction and for making panoramas, and if you’re using a large format camera with a bellows or a medium-format back on a camera like those made by Horseman, Arca-Swiss and Alpa, then you probably don’t need what I’m writing here anyway.
So, that’s one way of dealing with parallax. What’s the other you ask? Ignore it. Now doing so depends on the equipment that you have and the distance to your subject, because parallax error has a direct relationship with distance. Put simply, the closer your subject the bigger the problems with parallax error. If you’re shooting a sunset on the horizon for example, parallax error is so small as to be practically negligent. The focal length of your lens and the size of the camera’s sensor (or film size) also play a part. If you’re shooting digital it’s basically free anyway, so experiment – just not on anything that’s a once-in-a-lifetime opportunity.
Can panoramas be made handheld? Certainly, given the restrictions above. There are a couple of other things to consider. One is that unless your camera is perfectly plumb (i.e. panning the camera moves it in a straight/level line), then as you move from side to side you’re going to be creating an arc with your images with the center of the area you want to capture at the lowest point of the arc. Something to consider when it comes to stitching the final image is you’ll want to make sure you’ve included enough area for the final image you desire. Since virtually all panoramas are made by rotating the camera to capture the extent of the image, you can use a couple of tricks. One is to put the index finger of your left hand under the lens and rotate the camera around that point. Remember if parallax is an issue you need a tripod and a panoramic head, but if you’re shooting handheld this works pretty well. Another idea is to pick something on the ground – a stone or a coin placed there for the purpose, and rotate the camera around that point. The other thing to remember is that when making a panorama the orientation of the camera should maximize the area of image captured. Therefore, if you’re making a horizontal panorama, shoot the images with the camera held vertically (portrait rather than landscape mode, to use a printing term). If you’re making a vertical panorama, shoot with the camera held horizontally.
One last issue to remember with panoramas, and that’s ‘ghosting’. Ghosting is when an object in the image moves between one frame and the next. If you’re shooting landscapes on a windy day and the branches move between images, there isn’t going to be much you can do to fix it, even in Photoshop. Waves on the water present a similar problem. Depending on the software, to some extent ghosting can be removed.
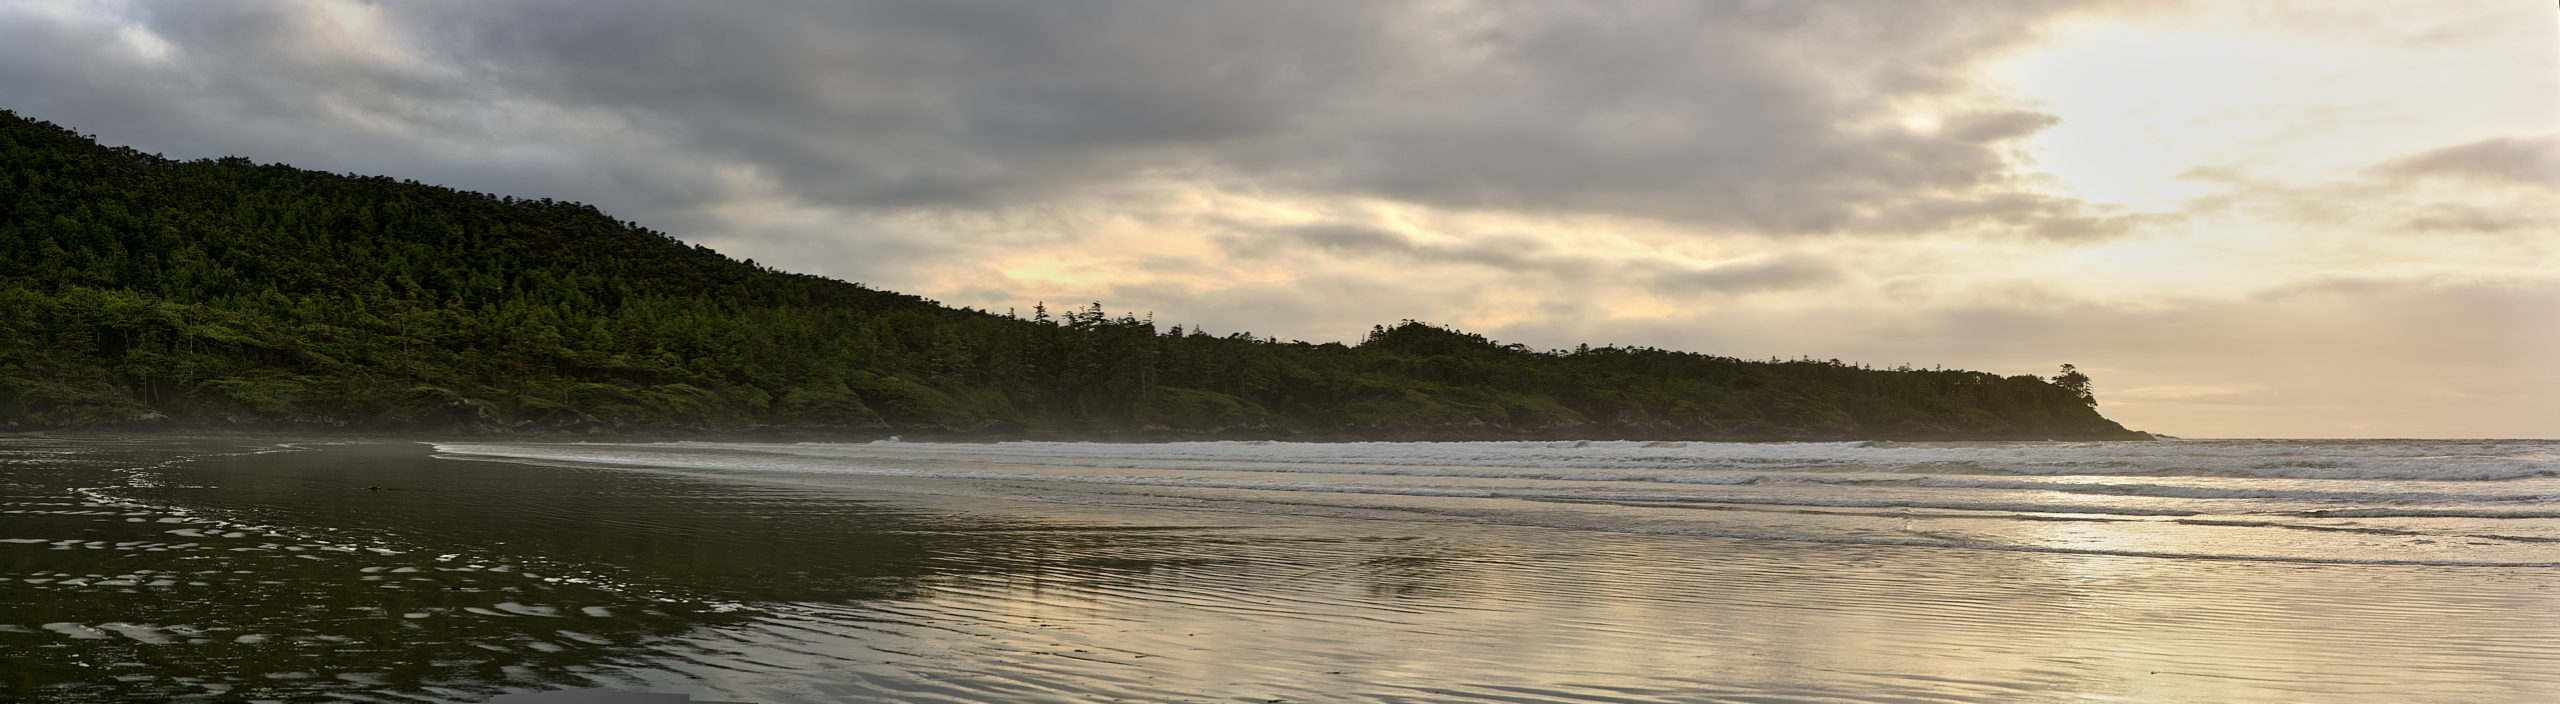
And finally, stitched images don’t have to be single-row panoramic images. They don’t necessarily need to look like panoramas at all. One can shoot and combine a stitched image to present more detail than could be captured using a single image, by using a lens of a longer focal length for example.
So that covers the making of the images. The next step is creating the stitched images. There are several programs that will make stitched images. Photoshop is one, PTGui is another, but the two I’m most familiar with are Hugin and Autopano Pro. Hugin is open source (free) software, and I used it almost exclusively until I broke down and bought a license for Autopano Pro, which is currently priced at € 99.00 (plus VAT where applicable). I found the Hugin software worked very well for most of my stitched images, and the people involved with the project continue to make improvements. One thing I found with Hugin was that the more advanced features were beyond my level of understanding; not that they weren’t available necessarily, just that I didn’t know how to use them.
With Autopano I’ve found that it has several features that I like. For one, I can load all of the image from a specific folder into Autopano, click ‘run’, and it will scan through the images and build panoramas from them automatically. I’ve found it can sometimes be a little ‘too’ aggressive in this, connecting images together that I hadn’t planned on. Still, I can be more specific in my selections when needs be. Another feature that I like in Autopano is the vertical/ horizontal lines adjustment. If I make a stitched image of a building for example, and if I use a wide-angle lens, objects toward the edges of the image tend to curve. This is a function of the lens but I can tell Autopano to make these lines straight. If the horizon is tilted, Autopano will similarly tilt it back into place. And if making a picture of a tall building or other object where perspective ‘leans’ it back, I can tell Autopano to straighten it. There’s a video tutorial for that on Autopano’s site. I must admit that there are features of Autopano that I don’t use, like colour balance and levels, preferring to do such things in Lightroom. I do (usually) use Autopano’s crop tool, since this way I’m not creating pixels I don’t need. I also use Autopano’s HDR function; I can bring in several exposures of the same image or several and Autopano will combine them into one stitched photograph.
Okay, I think that’s enough on panoramas for now. Since this is a ‘Photo of the Month’ post, I’d best include an image. The following photograph was made in Victoria’s industrial area, at the north end of the harbour. There were some huge thunderheads building up, and we got rained on shortly thereafter.

Approaching Storm
Okay, that’s it for now. If you want to see more of my stitched photographs, you can find some on my Flickr site.
Now go out and make some images!
Mike.
P.S. You can find more of our posts on photography and Lightroom tutorials here, and you can find links to over 200 other sites that have Lightroom tips, tutorials and videos here.