
Hi Folks: I usually dedicate the last day of the month to my favourite image made that month, but this month I’m going to do something a little different and dedicate it to an idea. I use Adobe Photoshop Lightroom (I currently have both LR 2.6 and 3 Beta installed) to do all of my file management, tagging, and pretty much all of my editing, etc. One of the biggest changes between LR 2 and LR1 before it was the ability to make selective rather than global changes to an image; I have no doubt that this will be expanded upon in LR 3 when it comes out, but we’ll have to wait and see. Now Photoshop is THE pixel editing program, and there is so much that can be done in Photoshop that can’t be done in Lightroom, so we’ll get that argument out of the way right up front. However, rather than be stymied by limitations, I always like to know how far I can take something – in this case Lightroom’s selective edit commands: the brush tool and the gradiant tool. I find mostly what I use them for is making very small adjustments. By small adjustments I’m talking generally ½ a stop or less. Still I think small corrections can make a big difference. I’m no Lightroom guru, but in all of the various Lightroom tips, tutorials and videos I’ve seen I’ve yet to see anyone cover this so I thought I’d give it a shot. Further creative effects may be achieved by changing the saturation, clarity, brush colour, etc. but this tutorial focuses solely on exposure adjustments.
Most of my work is landscapes, so landscapes will be the focus of this tutorial. All of the images below were shot in .jpg using what I call my ‘walkaround camera’ – a 10MP Fuji Finepix S1500fd. The Fuji doesn’t shoot in RAW so I don’t have the extended dynamic range and other benefits of using a RAW file, but Lightroom plays well with .jpgs too. While I think of it, the two sunset images are panoramas, made using the Hugin software.
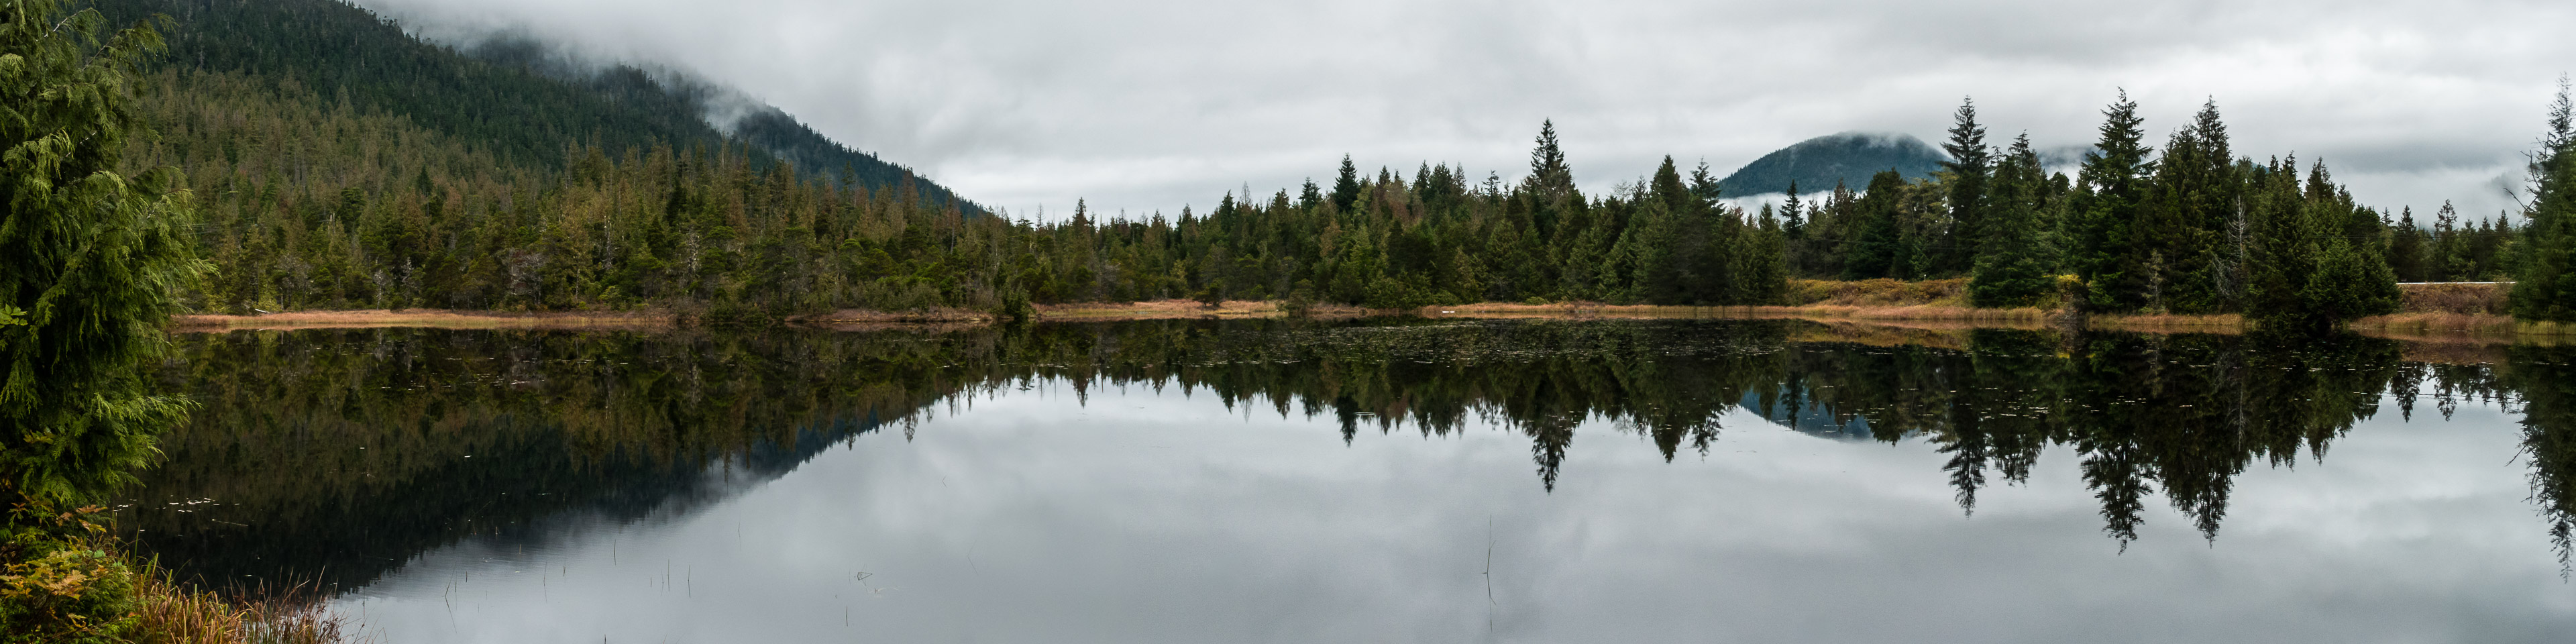
So, the first set of images are from a shoreline just north of Victoria in a town called Sidney. On the left is the image as I finished it in the Develop module. It was okay, but I felt that it was too flat overall, that the rocks were too bright and that the water was too dark.
 |
 |
My plan was to brighten the water and add some shadows to the shoreline to create more contrast as can be seen in the image on the right. I did this using four gradient filters.
 |
 |
The first filter is in the bottom right, and there I lowered the exposure by quite a bit – 1.1 stops. The top right didn’t need as much, so I lowered it by only 0.2 stops. That covered the rocky shoreline, but I still wanted to bring up the water.
 |
 |
I created a third filter that stretched the width of the frame (NB: holding down Shift while dragging the filter will constrain its movements to 90o angles, but I didn’t bother in this case), lightening from the left by 0.3 stops. That was pretty good, but I wanted to accent just the water even more, so a fourth filter lightened just the water by an additional 0.3 stops of exposure. That gave me the look I wanted for this image.
Using that same idea, here’s another image made using four gradient filters:
 |
Here getting the sun behind the gull was a matter of patience, but when I was finished processing it I wanted to accent the difference between the center spot and the corners of the frame. Using the sun spot as a beginning point, I dragged the filters out to the four corners of the frame. In each case I adjusted the exposure for the gradient up by 0.7 stops.
A different technique to achieve a similar effect is to use the brush tool. This is a technique I first learned from a video done by Matt Kloskowski of “Adobe Photoshop Lightroom Killer Tips”. The effect can be seen in the image below:
 |
Basically one begins with a very large brush and paints over the entire image, darkening everything equally. The exact amount of exposure reduction isn’t critical at this point. Then, creating a new brush, one sets the size of the brush depending on the area to be highlighted, and sets a wide feather (100 in this case). Turning up the exposure and clicking or dragging creates a highlight that has the overall effect of creating a vignette not possible using Lightroom’s Vignette tools. From there one can adjust the overall darkening of the image and the amount of the highlight required, depending on the desired effect. For this image I lowered the overall exposure by 2.4 stops and set the highlight to increase by 3.7 stops to create a dramatic result.
One really helpful aspect of Lightroom’s Brush Tool is the ‘Auto Mask’ feature. Basically, enabling this allows one to make selective masks based on the colour/luminance of the first selected area. As mentioned at the top I’m not a Lightroom guru, so if you want to know exactly how this works, ask the folks at Adobe. I’ve used this Auto Mask feature a lot, and I’m sure many have, but I also find it handy for making small creative edits – the subject of this post. I’m using two sunset images as examples. As I mentioned at the top, these are both panoramic images. The first one is made from three images. As with all panoramas, one should set the camera’s exposure mode to Manual, and when shooting sunsets, there can be a really wide dynamic range. One answer to this is to create multiple exposures of each image (bracketing) and combine them into HDR images but I didn’t have my tripod with me that day.
In this image I wasn’t worried about silhouetting the shoreline on the lower right, but I didn’t want to lose the detail in the clouds and the water on the left side. Because of that, I set the exposure to a point where the sun burned in a little too much for me.
 |
|
 |
 |
What I did here, as can be seen in the image on the lower left, is to zoom out some, set the brush size very large, and center it on the sun. By enabling the Auto Mask, I clicked and selected only the highlighted areas within the brush circle. I then lowered the exposure by 0.2 stops. I also used two gradient filters, one leading from the right edge of the frame to the sun and increasing the exposure by 0.1 stops, and one from the left edge of the frame to the sun, increasing the exposure by 0.4 stops. The final image is on the lower right. The white of the sun is no longer clipping, and there’s greater definition in the clouds above and to the right of the sun. I’ve also kept the detail on the left side of the frame.
The last image here is a composite of 38 individual images. As with the previous image (which was taken nearby, and on the same day), the area around the sun was burnt in. There was also quite a large dark cloud immediately above the sun that I wanted to lighten. Finally, I wanted to darken the foreground areas in the bottom right and left, and using the Auto Mask worked well for all of these.
 |
 |
 |
 |
The top left image is before adding the mask tools, and the top right image is the finished product. I decreased the exposure for the mask around the sun by 0.2 stops and the sun is no longer clipping. The mask for the cloud above the sun has been lightened by 0.25 stops. The bottom left and bottom right corners were darkened by 0.4 and 1.0 stops respectively.
So, that concludes my first Lightroom tutorial! I trust you found something there of interest.
Mike.
P.S. You can find more of our posts on photography and Lightroom tutorials here, and you can find links to over 200 other sites that have Lightroom tips, tutorials and videos here.