
Hi Folks:
I’ve written a couple of posts before on panoramic photography; this one is about an idea, an experiment if you like, that I tried recently.
There’s a back story for this experiment, and that is that in the downtown area here there’s a panoramic mural on the side of a building that’s approximately 60 metres/ 200 feet long. It’s a nice work, and I wanted to make a photograph of it. It’s on the side of a building, and that side faces a parking lot.
Now most panoramic photographs have one basic thing in common, which is that the location of the camera doesn’t change. If one is using a camera/ lens that’s capable of shifting, then those shifts can be used to capture more image area. Otherwise one rotates the camera to capture each image that is rendered in the panoramic software. I talked about this more in my Photo of the Month article for March. I mostly use Autopano Pro for my panoramas and my HDR work; it works well for me for the most part. I’ve also used Hugin, and more recently I’ve also played a bit with Adobe Photoshop CS5.
With the building in question, shooting a traditional panorama wasn’t going to work for me, for a couple of reasons. For one, since the scene was a parking lot, shooting from one place meant that all I would get would be images of vehicles instead of the wall, and for another, since the building was so long shooting from one place would have introduced some serious arcs into the image. Therefore I wondered if I could make one photograph, move along the wall, make another photograph, move along the wall, etc. It didn’t work, and in the end I just trashed the images and moved on. It was only an exercise anyway.
A while after this I had an idea that I wondered about. The biggest problem I ran into when trying to make the previous panorama was the amount of ‘ghosting’ caused by all of the perspective shifts from shooting from different camera positions. What I was wondering was, what if I processed the images in pairs? Would that work? Could I combine pairs and pairs into larger and larger images to create one – essentially stair stepping my way to one panoramic image, like this?

The short answer is ‘no’, but if you want to understand more, read on!
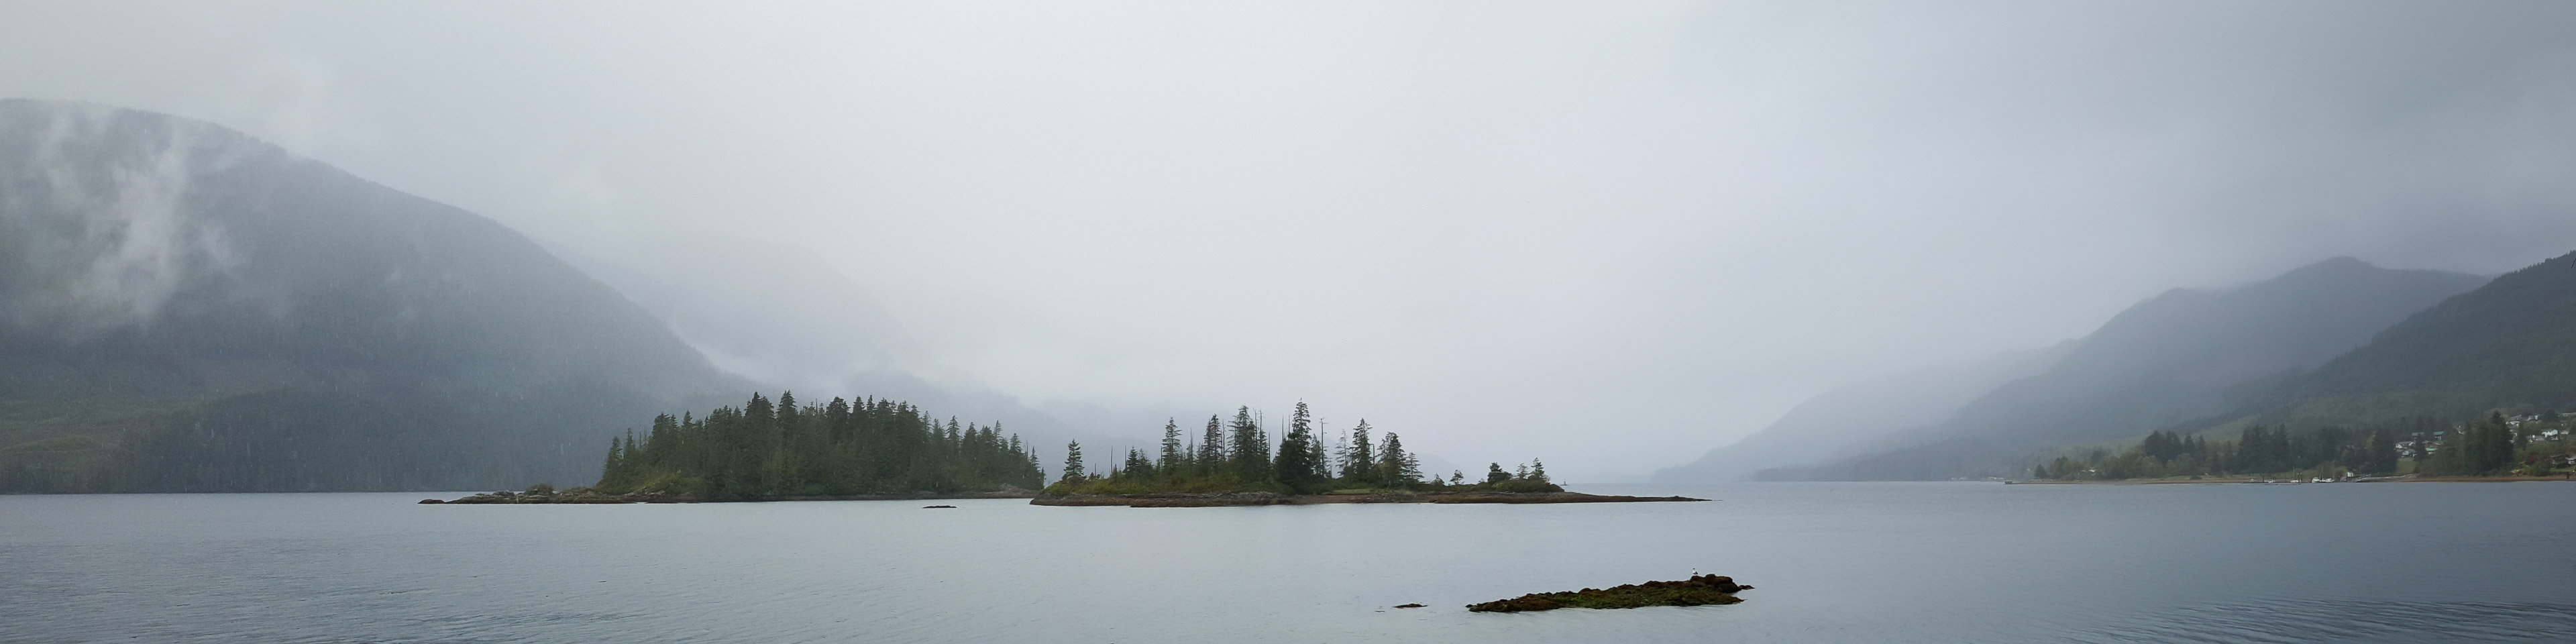
To test this out I went down to the shoreline and found a log that was about 10 metres/ 30 feet long. I stood on one end of the log and made an image, took a step and made another image, etc. It took 17 images to get to the end of the log. The first thing I tried was to simply combine all 17 images into one panoramic image using Autopano Pro. I got the following (NB: I rotated all of the images below by 90o to accomodate the dimensions of the average computer screen. I also shortened them so that they all had the same maximum dimension, so it may look as if the scale is off. I should also mention that I kept everything in 8-bit to keep the file sizes small).

Interesting, but not exactly what I was looking for. I don’t blame the software, since I was clearly asking it to do something for which it was not designed, but it reminded me of some of the results in my ‘Stitching Errors‘ post.
Undaunted, I tried going to Photoshop. Since I do all of my cataloguing in Lightroom, it’s easy to select ‘Edit In:’ and select ‘Merge to Panorama’. I chose the automatic setting, and got this:

A little better, but it didn’t cut it. Now Photoshop has some other Panorama options, so I tried the ‘Collage’ option. I got this:

Moving on, I selected all 17 images again and tried Photoshop’s ‘Reposition’ option. I got this:

That was the closest, but still the errors are obvious. After the fact I realized I hadn’t checked the ‘Geometric Distortion Correction’, so I don’t know if that would have helped.
Since that wasn’t going to work, I went back to my original idea of creating image pairs. Since I had 17 images to start with I decided to create 16 pairs for the first tier by joining 1+2, 2+3, 3+4…16+17. Then I’d join the first pair with the second, etc.
The first pairs worked out pretty well. Here are a couple of examples, one from each end:


These worked out pretty well, so I went for the next phase, this time creating one image from four originals (two pairs of two). Again, one sample from each end:


Here I was starting to see some errors already. But I went on…


For the next combination Photoshop didn’t do very well at all, so I gave up and went back to Autopano:

So, was it worth it?
Well, it proved it didn’t work in the long run, but it might work in combining 2-3 images together taken from different places. Beyond that, the accumulated errors become too significant.
Okay, go out and make some photographs!
Mike.
P.S. You can find more of our posts on photography and Lightroom tutorials here, and you can find links to over 200 other sites that have Lightroom tips, tutorials and videos here.