
Hi Folks:
Last fall we were at Hatley Gardens at Royal Roads University and (among other works) I made some bracketed images for building HDR panoramas. Unfortunately, due to a technical error (the nut behind the camera) I violated one of the basic tenets of making panoramas: always use manual exposure. As such, for one of my panorama images (made from two bracketed sets of exposures), the right group of images came out visibly lighter than the left. Compare the large Douglas fir in both images:
 |  |
In current versions of Lightroom one can make HDR panoramas in one step, but in my older version I have to do this in two steps. No matter. The challenge was that when I joined the two HDR composites together, it was easy to see where the join between them is:

What to do? Fortunately, Lightroom has a built-in solution, although it’s not well known. In the Library module one selects the group of images involved (two in this case) and moves to the Develop module. Under Settings, about ½ way down the menu, click on Match Total Exposures. We did a blog post on this back several years ago (Match Total Exposures in Lightroom) if you want to know more. Basically the tool works only with the Exposure slider, and – using the most selected image as a baseline – adjusts the exposure of the other selected image(s) to match. In this case it turned down the exposure on the image on the right by ¾ stop:
 |  |
Comparing the above two images you can see that they’re much more in line with each other. This time when I combined the two into a panorama the results were much more even:

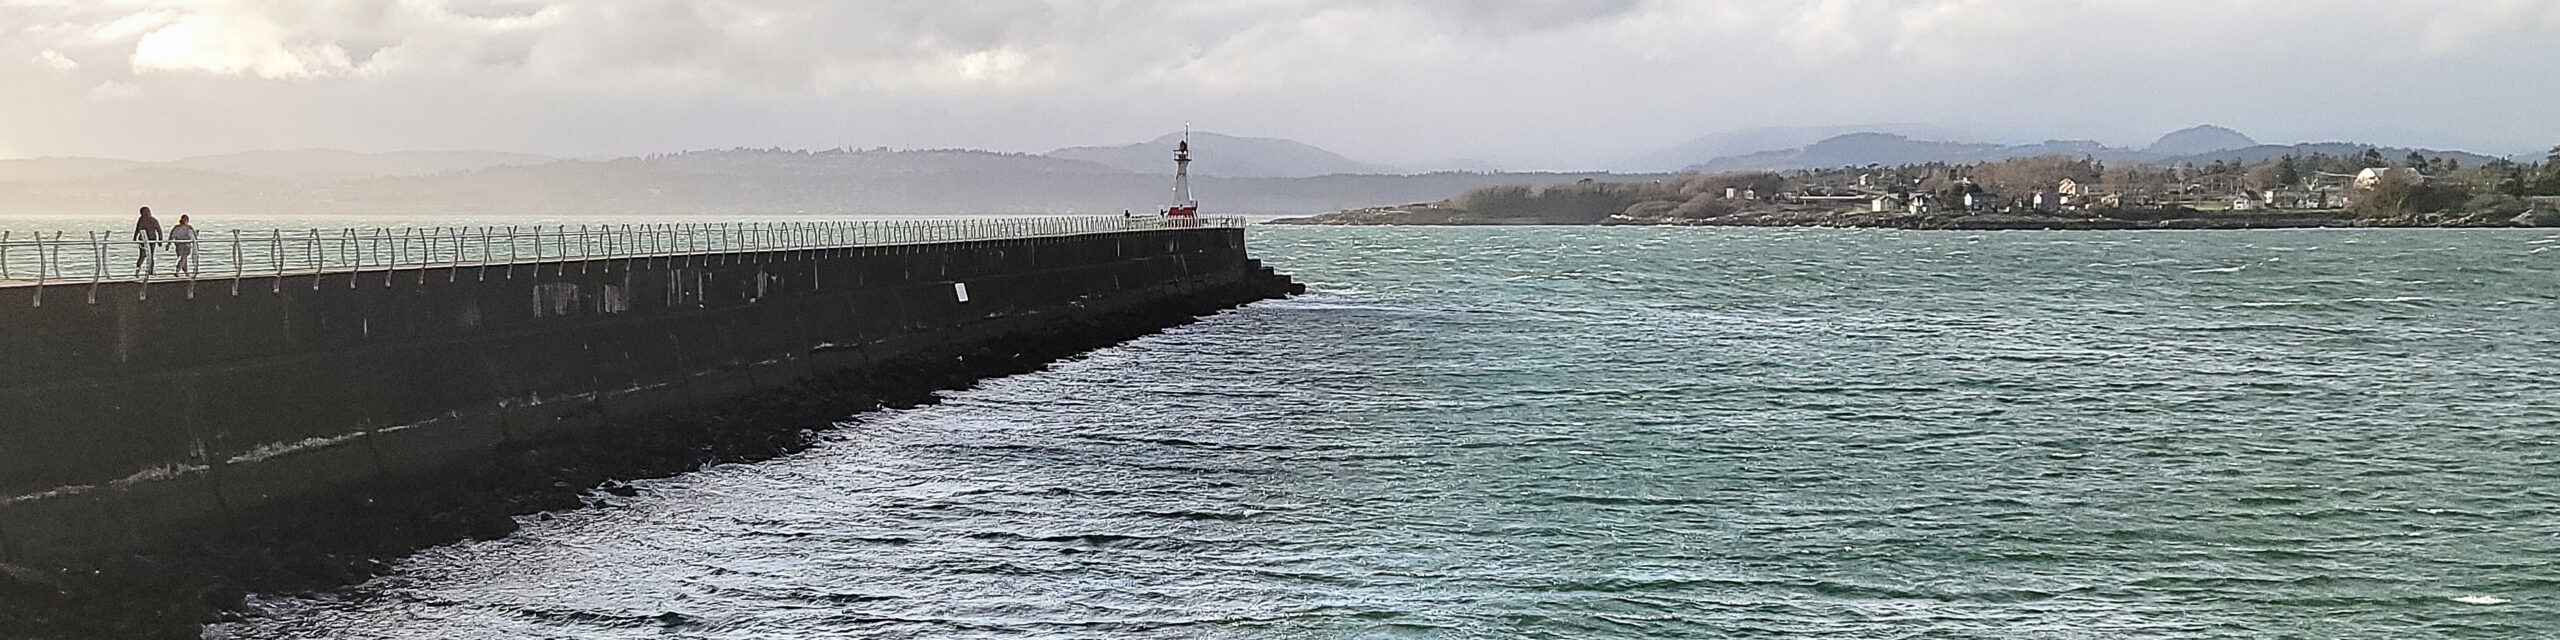
Finally, after setting the white balance and pushing the image around a bit we come to the final output:

Okay, that’s it for now. Go out and make some photographs!
Hugs,
M&M