
Hi Folks:
For this month’s Photo of the Month’ post I thought I’d combine a Lightroom tutorial as well. In the past we’d done blog posts on making diptychs and triptychs in Lightroom and on creating mirror images in Lightroom; this post combines both of those ideas. So, we’ll start with the final image and then go back to the beginning:

Nature’s Sonograph
Okay then! A sonograph is a graphic depiction of sound waves and this image was actually inspired by an image created using my cell phone. The Camera 360 software I use has a ‘mirror’ function’ and while most of the time I tend to keep my images as ‘flat’ as possible before bringing them into Lightroom, on occasion I like to play with this way of looking at things. After reviewing the image I decided I wanted to duplicate and then expand the effect using Lightroom. We’ll begin by stating that parts of this would be much easier in Photoshop, but not everyone owns PS and Lightroom has great creative capacity if given a chance.
So… on the left is the original image (not much to see), and on the right is the image after straightening out the hillside and adding some basic editing:
|
|
|


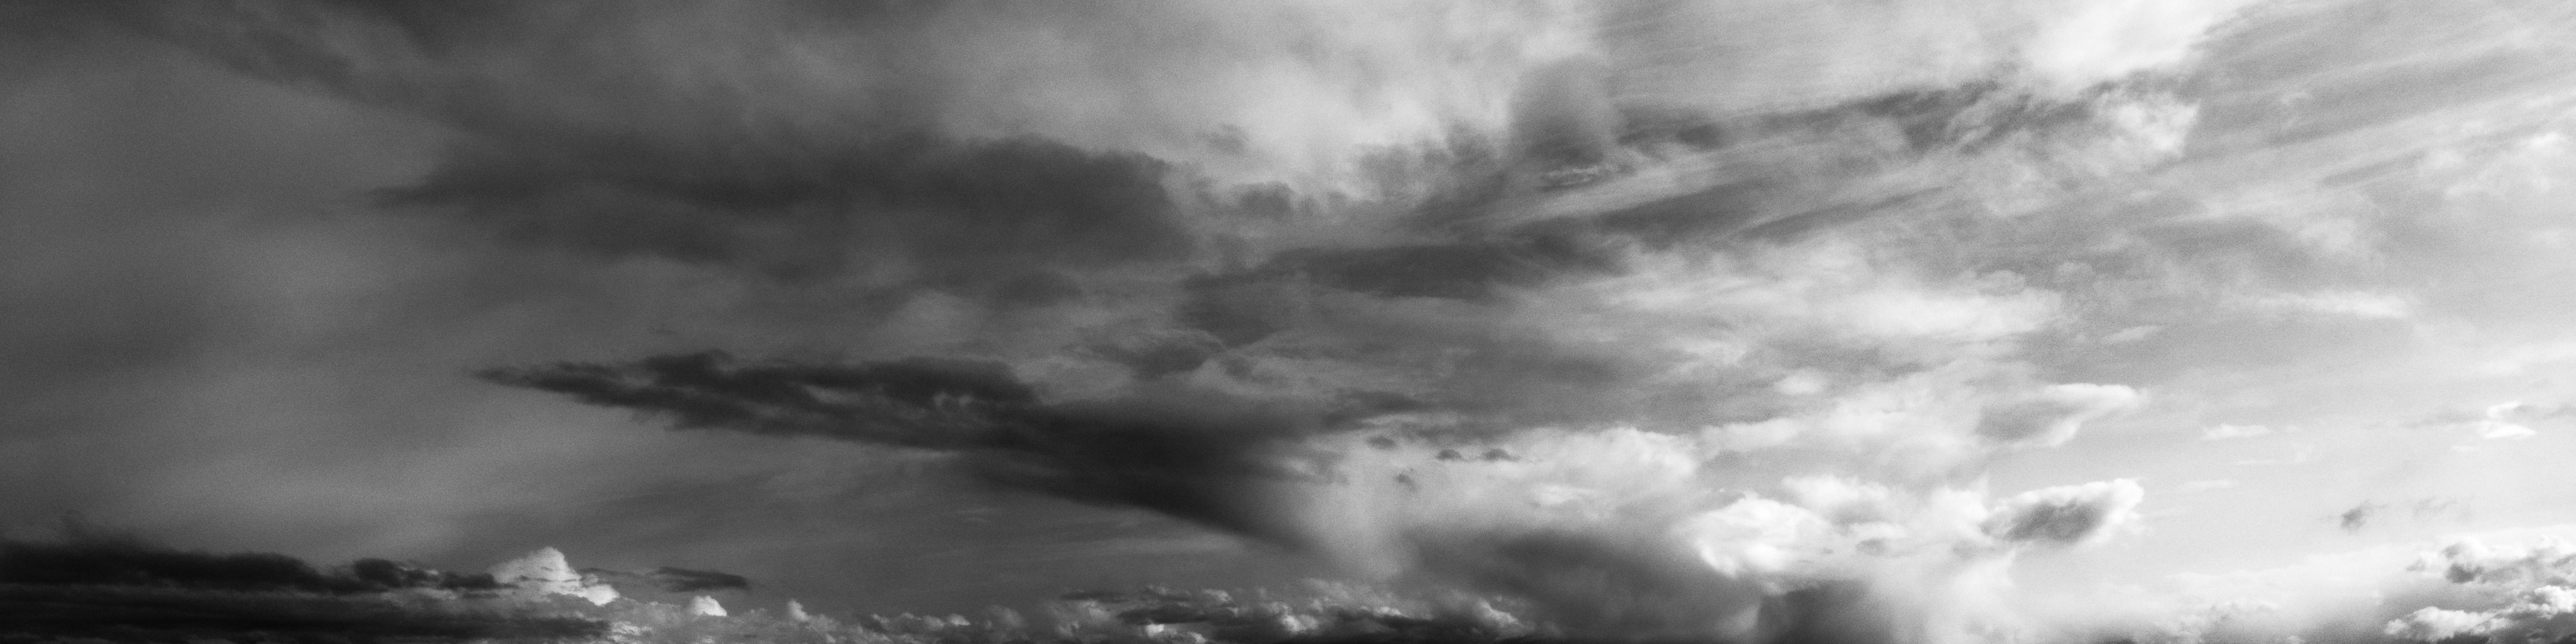
The next step was to remove the sky, which called for the brush tool. I used a large brush and made sure the ‘Auto Mask’ was enabled. After masking in the sky, I increased the exposure by 1½ stops to blank out the sky/ clouds:
|
|
|


Cropping the image was next. Since I wanted the final (doubled) image to be three 1×1 squares (1:3), I knew that each half of the image would need to be an aspect ratio of 1:6. I tapped the ‘R’ key to open the image in the Develop module with the Crop window open, and set a custom crop size of 1×6. After moving the image about a bit I arrived here:

After clicking ‘Done’, the next step was to create a Virtual Copy of the image, then, while still in the Develop module I went to Photo/ Flip Vertical. That gave me two images that looked like this:
|
|
|
|


Next I moved to the Print module. Now, it is possible to create this effect using the Single Image/Contact sheet options in the Print module by adjusting the space between the cells and the left/right/top/bottom margins, but personally I find that method more than a little frustrating. I prefer to use the Custom Package instead. I began by setting a custom page size of 4×12″ and added two 4×6″ cells to the page. I resized each cell to 2×12″ and placed one above the other.

|
|
I added one of the images to each cell and ended up with this: |
|
|
Using the Print to File option I printed the image out as a .jpg file and re-imported it into Lightroom. I then created two Virtual Copies of the newly imported image. Selecting the first image, I opened it in the Crop tool and set a 1×1 crop. I needed to make three distinct crops – one of the left side of the image, one of the center and one of the right side of the image. Because the image aspect ratio is 1:3, it was a simple matter of opening the image, applying the 1×1 crop window, then dragging the image all of the way to the right or left (remember that it’s the background image that gets moved, not the crop window).
Tip: If you want to create say 5 panels instead of three and you have a 1×5 image, you can do the following. When you first apply the 1×1 crop, it will default to the center of the image. Click on the middle-right handle on the crop window and drag the mouse to the left. As you go the crop window will get smaller and smaller until it gets to ‘zero’, then will start expanding again. Keep going until it gets to the full height of the image again and it will be exactly one crop-window-size to the left. Do this again and it will now be at the left edge of the image frame. If you go too far outside the frame the crop window will collapse and you’ll have to move back a bit. Try it, and you’ll see what I mean.
|
|
|


I now had three 1×1 images, each showing a discrete part of the image frame:

The final step was to go back to the Print module, and using the same 4×12 custom page size I added one cell to the page, sized it appropriately and set it in the middle of the page. Enabling the ruler guides can help with placement. By holding down the Alt/Opt key I dragged out two more cells, one to the left and one to the right of the original, placing them appropriately. I populated the cells with the three square images I had made and added a 1.5 pt inner stroke. That created the final image, which I again printed out as a .jpg file.

That’s it! Was it worth it? I leave that to you to decide. 🙂
Now go out and make some pictures!!
Hugs,
M&M
P.S. You can find more of our posts on photography and Lightroom tutorials here, and you can find links to over 200 other sites that have Lightroom tips, tutorials and videos here.