
Hi Folks:
I haven’t done a photography post in a while, and Matt Kloskowski at Adobe Photoshop Lightroom Killer Tips recently posted a video on his blog called, “Everything I Know About the Adjustment Brush“. He did an excellent job in covering the ins and outs of the Adjustment Brush in Lightroom, but he left out two sliders: Flow and Density. To that end, I thought I’d cover them instead. You can find them here:

Now, by default Flow is set to 50 and Density is set to 100, and many people set them both to 100 and leave them there, but you might want to learn what they’re for as they can help you with your creative processing. We’ll start with ‘Flow’.
If you’ve used the Brush Tools at all you know that, as with all things Lightroom, their use is non-destructive and that you can go back, change the slider values and even delete brushes if you so desire. So, what good is the Flow slider? Well, let’s assume that you set the Exposure slider to +1.0 and you add a mask to a part of your image. If you want it brighter you can increase the value and if you want it darker you can decrease the value, but once you’ve added an area to the mask, going over the same area again won’t change it without changing the slider value. What if you want a part of your mask to be, say, +0.5, part of it to be +1.0 and part of it to be +2.0? Well, you could create three different brushes and set separate sliders for each brush, or you could set the slider to +2.0 and you could simply change the flow. Let me illustrate.
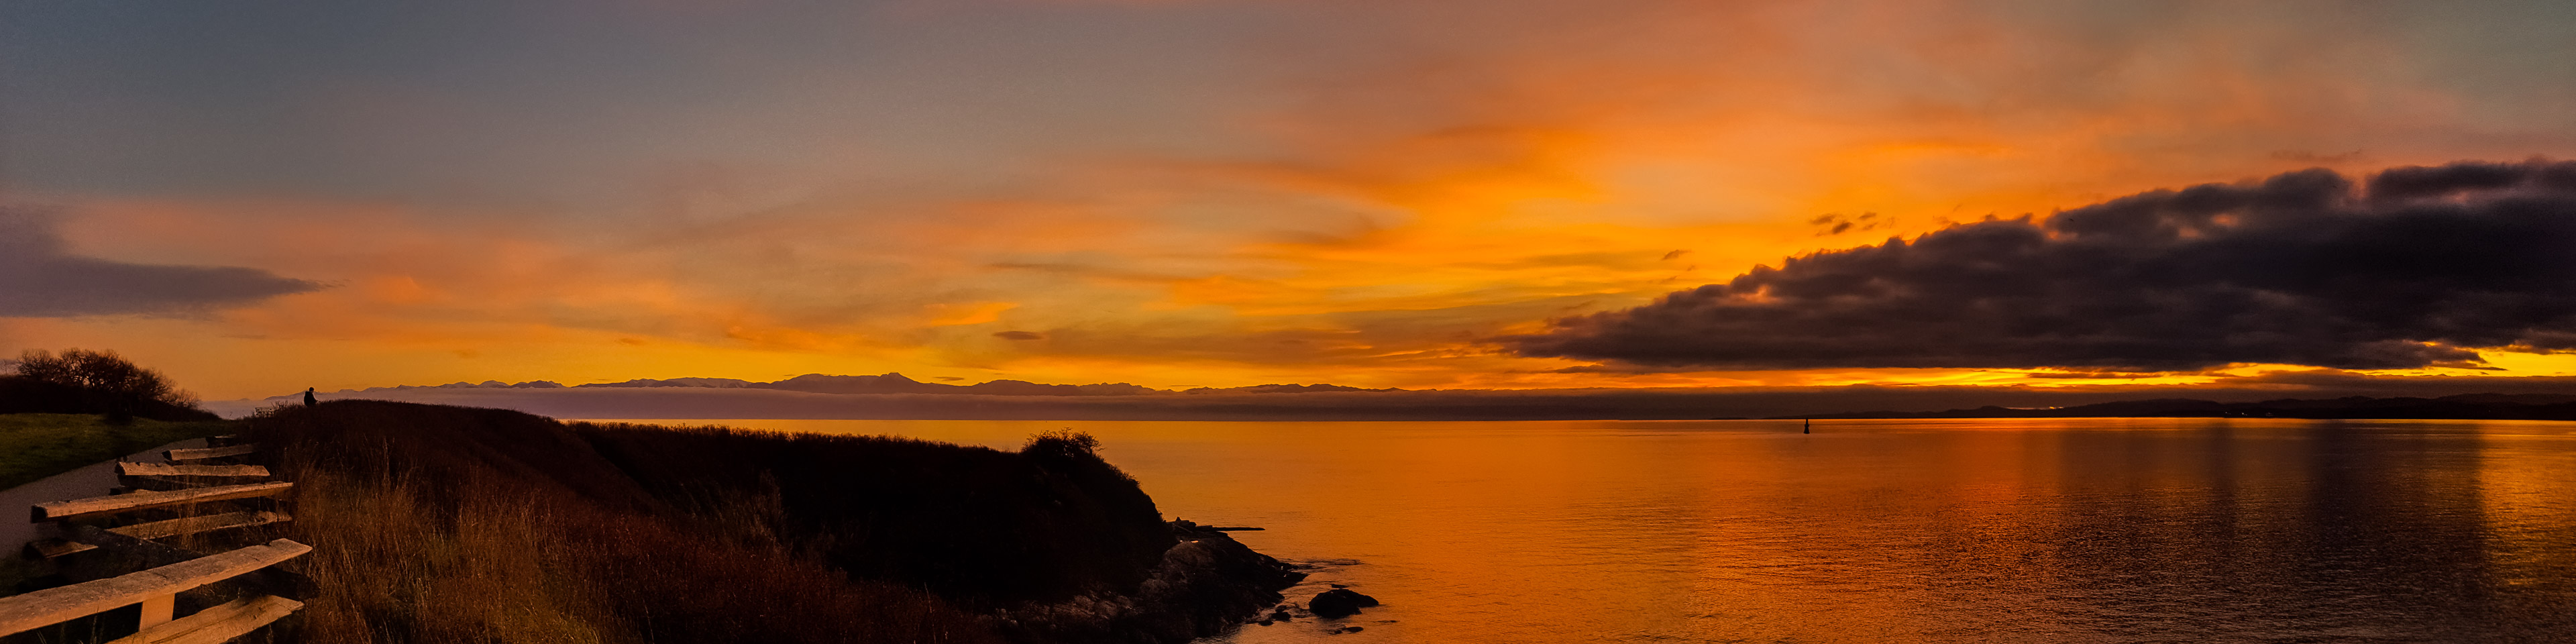
This is an image I made at Christmas Hill back in June. It’s combined from six images, but otherwise unprocessed:

Looking at the histogram you can see that there are some burnt out highlights. I could use Recovery to bring that down, but in this case I’m going to use the brush tool to target those highlighted areas. However, since some areas are brighter than others. I set the Exposure to -1.0 and set the Flow to 50. In this way, passing over an area with the brush once will reduce it by a smaller amount, and going over the same area again will darken it even more. It’s not a direct relationship (i.e. setting Flow to 20 will not produce 20% of the effect but a little less) but gradual layering will increase the effect on a given area. This image shows the mask with the highlight areas targeted. The darker the red in the mask, the more effect produced:

You can see from the histogram that the overblown highlights have been dimmed. I also wanted to add a vignette to this image. Lightroom has two tools for this, the Lens Vignetting Tool and the Post-Crop Vignetting Tool, but sometimes using a brush is preferable because you can decide which areas you want to vignette and by how much. I created a new brush, set Exposure to -1.0, and set Flow to 50. This image shows the mask of the vignetted areas. Again, going over the same area more than once decreases the exposure more:

The next step was that I wanted to increase the Clarity and Sharpness, but only for the fence post. In this case I created a new brush, set both Clarity and Sharpness to 60, and set the Flow at 50. As you can see from the mask, I concentrated mostly on the areas of the post containing the wire:

The final brush step was that I wanted to blur out the background. One of the challenges with small camera sensors is that even at large apertures they have a very large depth of field. This time I set the Sharpness and Clarity sliders to -70 and turned Flow down to 30. In this way I could make one brush stroke closer to the post, then make two passes farther away and three passes out toward the top edge of the frame:

Two important things to remember about the Flow slider is that you can change the value before each brush stroke, so you could for example, set it at 20, cover an area, set it at 40, cover another area, set it at 60… and so on. The other thing to remember is that changing the Flow value after adding to the mask has no effect. It must be set before you add a brush stroke.
So that covers the Flow slider, but what about Density?
Well, Density works in a similar fashion, but Flow is relative; even with the Flow slider set to 30 as in the example above, going over the same place enough times will eventually bring the full effect into play. Density is different in that it represents an absolute cap. If for example I was to set Flow at 30 and Density at 100, go over an area then change Density to 50 for the next brush stroke, no matter how many times I went over the second area the effect would not go beyond 50. For the image below I set the Exposure slider to -1.0 as before, set Flow to 20, and set Density to 100. In the area above the fence post I made a series of brush strokes in layers moving away from the post – from one pass near the post to about 10 passes near the top of the frame. I then set the Density slider to 50 and repeated the same action below the fence post. For the second brush stroke, no matter how many times I added to the mask, the effect would not go above 50. It’s like a governor on an engine that won’t allow a vehicle to travel above a specific speed.

Lightroom’s brush tool isn’t anywhere close to being as robust as Photoshop, but not everyone owns Photoshop. As I’ve illustrated, the Adjustment Brush can be used for more than just adjusting Exposure; it can be used to adjust Contrast, or to add Creative Sharpening for example. Alternately, setting the Sharpness slider below -50 begins to add blur to an image. By setting the sliders to a higher (or lower) value and reducing Flow, one can layer in an effect over different areas. And since the Flow and Density sliders can be adjusted for every brush stroke, the amount of the effect can be varied throughout the image. Like all tools, they can be used and abused.
Okay, that’s it for now. Go out and make some pictures!
Mike.
P.S. This is what the finished image looked like:

but after reviewing it for a bit I decided it looks better as a B&W image:

Christmas Hill Fence Post
P.S. II, the sequel: You can find more of our posts on photography and Lightroom tutorials here, and you can find links to over 200 other sites that have Lightroom tips, tutorials and videos here.
nice
nice post i ever see.. thanks
That's one sick tutorial. It looked 100x better after the editing that you did. I'll try it out. Thanks for this post!
Thank you for this informative post
Thanks for sharing!
Great post, very informative!
Thanks for your effort.