Affinity Photo, HDR and Panoramas

Hi Folks:

I’ll be the first to admit there’s a lot about colour I don’t know, so feel free to correct me if I misstep. I have a Sony A7RIII, Capture One Pro for Sony 20.1 and Affinity Photo 1.8.3.

NB: I can’t see what you’re seeing because your monitor is different. Also, these are sRGB .jpg screen captures of what I’m seeing. Still, there’s value in comparing them to each other.

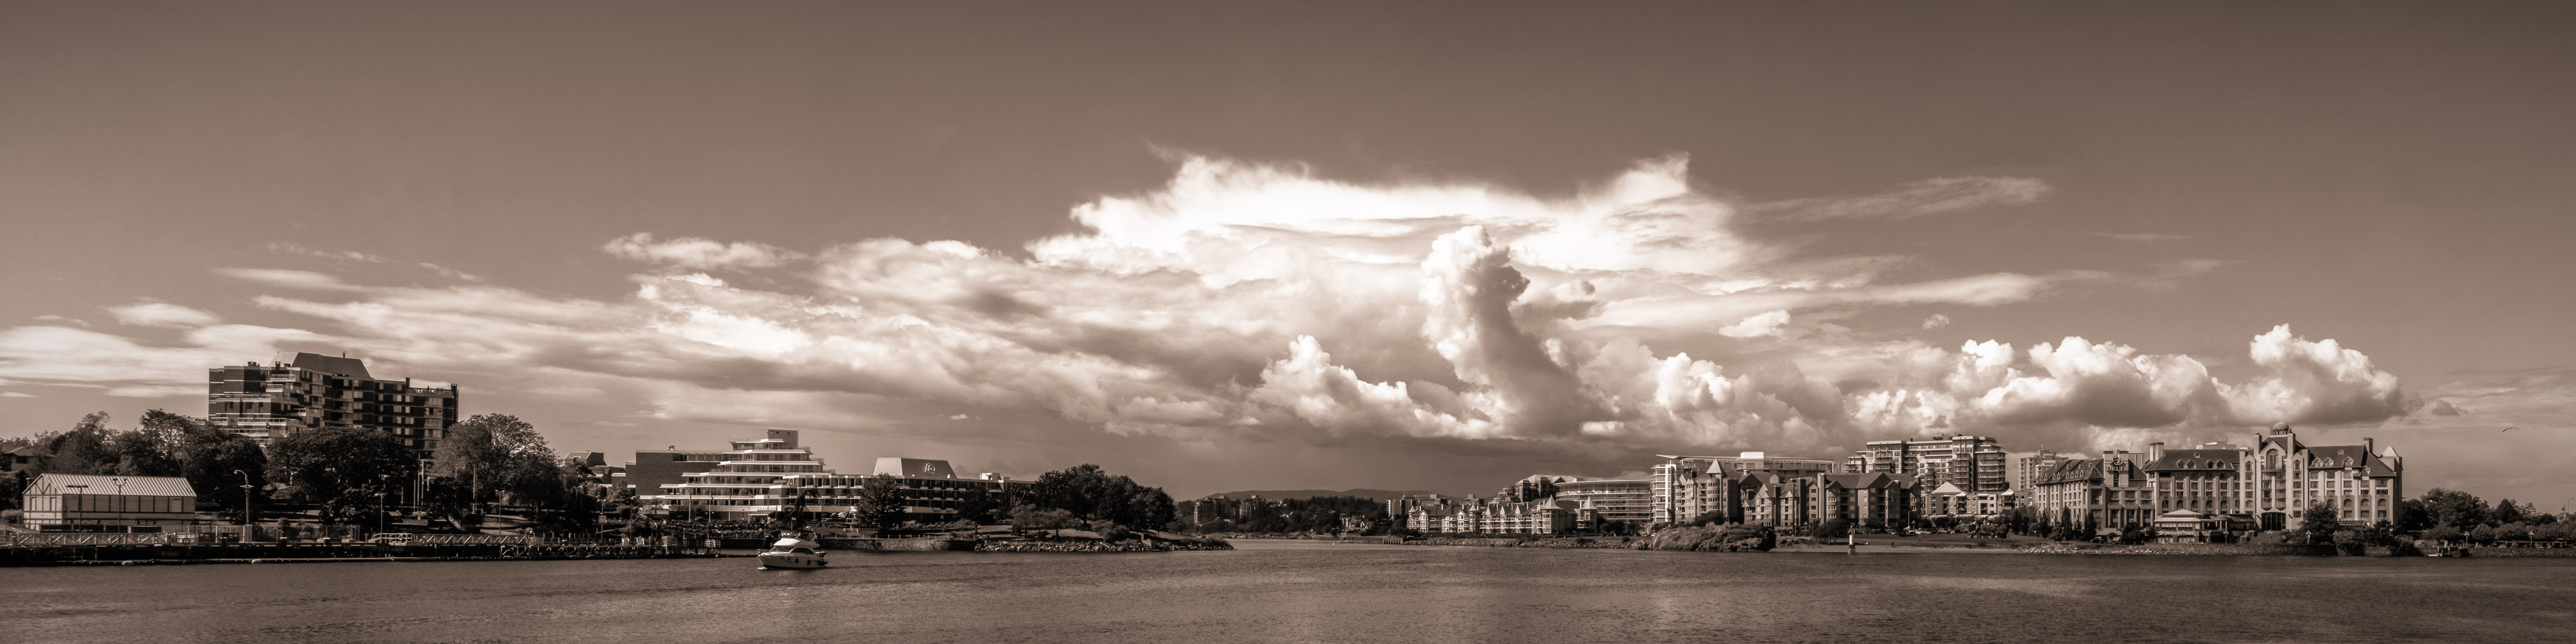
Since Lightroom (Lr) 6.14 doesn’t work very well with my .arw files, I’ve been using Affinity Photo (AP) to combine my HDRs and panoramas. I’ve learned a few things. I took nine images made last October to play with. None of this is worth keeping, but it’s good to play with.

Continue Reading →

An Unusual Lightroom Problem… And Solution

Hi Folks:

Last fall we were at Hatley Gardens at Royal Roads University and (among other works) I made some bracketed images for building HDR panoramas. Unfortunately, due to a technical error (the nut behind the camera) I violated one of the basic tenets of making panoramas: always use manual exposure. As such, for one of my panorama images (made from two bracketed sets of exposures), the right group of images came out visibly lighter than the left. Compare the large Douglas fir in both images:

In current versions of Lightroom one can make HDR panoramas in one step, but in my older version I have to do this in two steps. No matter. The challenge was that when I joined the two HDR composites together, it was easy to see where the join between them is:

What to do? Fortunately, Lightroom has a built-in solution, although it’s not well known. In the Library module one selects the group of images involved (two in this case) and moves to the Develop module. Under Settings, about ½ way down the menu, click on Match Total Exposures. We did a blog post on this back several years ago (Match Total Exposures in Lightroom) if you want to know more. Basically the tool works only with the Exposure slider, and – using the most selected image as a baseline – adjusts the exposure of the other selected image(s) to match. In this case it turned down the exposure on the image on the right by ¾ stop:

Comparing the above two images you can see that they’re much more in line with each other. This time when I combined the two into a panorama the results were much more even:

Finally, after setting the white balance and pushing the image around a bit we come to the final output:

Japanese Garden, Royal Roads University

Okay, that’s it for now. Go out and make some photographs!

Hugs,
M&M

2020 Photo Calendars

Hi Folks:

This is the tenth year now that we’ve made our MS Word photo calendar templates available, and as with the past several years, we’ve also created a series of templates and calendar images you can use with Lightroom or other graphics software. As we’ve done before we’ve also added a full-page calendar option, below. 

I created a template in MS Word that allows people who don’t have Photoshop, Lightroom or the equivalent to make their own photo calendars, so we’ll cover that first; the Lightroom stuff is below that. I used MS Word 2016 to make the template and saved it as a .docx file. Basically it’s a series of tables, one for each month, that look something like this:

Continue Reading →

4:1 – Re-imagining the Frame

Hi Folks:

As photographers, one of the most important challenges for us is to continue to change how we see and to stretch our creativity. One of the ways to do that is to pick specific parameters and then to make a body of work that fits within those parameters. It might be to shoot only one subject, to shoot only in grayscale (B&W), to make an image every day… In the film days, most people’s relationships to photography revolved around a few aspect ratios: 2×3 (4×6), 4×5 (8×10), 5×7, etc. With some older cameras we also had 1:1 square prints, usually from 120, 127 or 620 film. With digital photography we’re not so limited, although some of the same rules apply when we get to printing. Movies (and now video) have always embraced wider frames, although there was no one standard aspect ratio. We have movies made in 1.78:1 (16×9) out to 2.4:1 (22×9) and beyond. Outside the movie theatre, for the average person 16:10/ 16:9 showed up in their lives with the first widescreen computer monitors and digital TVs. Continue Reading →

Cell Phones, HDR and Panoramas

Hi Folks:

This started out as an idea for a blog post, evolved into a one-hour presentation for our local camera group, and now I’ll try to compress that into a blog post. We’ll see how it goes.

There are several questions to begin with, the first of which is… why do this? The answer is to extend or expand the capabilities of your camera, no matter the camera. There are at least five different reasons that I know of to combine multiple exposures into one image. These are two of them. The second question is, why cell phones? This post doesn’t only involve cell phones, but cell phones are ubiquitous. Some people only make images with their phones, despite the technical challenges, but the bottom line is that it depends on how you’re planning to use your images.

Continue Reading →

Photography, White Balance and Colour Profiling

Hi Folks:

I wrote this out for a friend of mine and thought I should post it here as well. Back in 2010 we wrote a post on Photography and Colour Management, and this is complementary to that post.

When it comes to colour digital photography, many photographers are aware of white balance. If you’re not, this Wikipedia article on Colour Balance explains it well. The essential element is that the human eye sees subjectively (our eyes receive energy as light and our brains interpret what that energy means) whereas digital cameras see objectively. The human perspective is highly adaptable, so no matter where or when we find ourselves, if we see something white, we recognize it as white, no matter what colour it actually is. Cameras can’t do that. If you’re shooting .jpg images you select a white balance setting on the camera – daylight or incandescent or even auto – and the camera’s software shifts the information captured so that white looks, well, white. If you’re shooting RAW, the images captured have no integral white balance and one must be assigned during raw conversion.

Continue Reading →

A Quick Lightroom Tip

Hi Folks:

I’ve been using Lightroom since the first Beta, but never claimed to know everything. In fact I learned something new today. As I’m sure you do, I often shoot 2-3 exposures in series and then pick the best one of them once I have them in the Lr library. I’ve been opening the Library module in Grid view, selecting the 2 or 3 images, pressing C for Compare view, zooming in, determining which is best and rejecting the other(s), then pressing G to go back to Grid view, selecting the next pair, etc. I don’t often use the filmstrip at the bottom, but I happened to have it open today. What I discovered is this:

Start in Grid view and select two (or more) images for comparison. Press C to go to Compare view, and the two selected images are shown in the filmstrip below. Choose one of the images and X (reject) the other. Now, while in Compare view, click on the frame (not the image) of the next image to be compared in the filmstrip at the bottom and Lr will automatically select the image beside it for comparison. If you have more than two images to compare you can hold down the Shift or Ctrl key to select the next file(s). Compare, choose one, X the others, then press on the frame of the next image to compare in the bottom filmstrip… It’s a lot faster than going back and forth between Compare and Grid views.


Okay, that’s it. Now go out and make some photographs!!
 

Hugs,
M&M

P.S. There are some 85 posts on our blog now on digital photography and Lightroom. You can find them all here.

An HDR Comparison

Hi Folks:

When you mention the term HDR, many people’s thoughts automatically jump to tonemapping and the results that can produce. That’s not what this post is about. If you don’t understand what HDR is all about or why you might want to use it in your photography, I suggest starting here: Why Use HDR? I’ll wait…

Okay, welcome back. I recently acquired a Sony A7R III and one of the features of this camera is that it has a very wide dynamic range – 12 to 14 stops are claimed. To that end, HDR capture with this camera isn’t often necessary. However, a friend of mine and I were out at Victoria’s famous Butchart Gardens last weekend and I wanted to try bracketing a few exposures just to see. Now, when it comes to the question of how many exposures to make and at what EV levels, there’s really only one answer: it depends. It depends on the scene and it also depends on the camera you’re using and what capabilities it has. For my experiment I decided to shoot 5 bracketed exposures at -4/-2/0/+2/+4 EV. Here’s an example of one of those combined images after having been pushed around a bit in Lr.

Water Dragon
Continue Reading →

City of Angels

Hi Folks:

On most evenings, around sunset, you’ll see groups of people gathered along the Dallas Road walkway that runs along the south shore of Victoria. Every sunrise and every sunset is unique, but sometimes the Earth just outdoes herself. This was January 24, 2019, at Holland Point.

Marcia’s image first. This is a composite of 10 cell phone images, joined up with Autopano Pro and pushed around a bit in Lightroom.

City of Angels 1

Mike recently received a new Sony A7RIII camera and has been playing with it a bit. Three images here, at different focal lengths:

City of Angels 2

57mm

City of Angels 3

24mm

City of Angels 4

12mm

Obviously, the sky and the ocean deserve most of the credit here. Okay, that’s it. Now go out and make some photographs!

Hugs,

M&M

2018: A Photography Retrospective

Hi Folks:

As we close out 2018, many photographers choose to offer their best 10 or 12 images of the year. We did something similar with our 2019 Photo Calendars post, but we wanted to offer our favourite images from the year as well. Perhaps not coincidentally, they were both featured in our upcoming calendar.

Marcia’s first:
Dew DropsVictoria is known as the city of flowers, and Marcia loves to do flower macros. The timing on this one allowed her to capture some of the morning’s moisture as well, and if you look in the spheres you can see continuing reflections of the flowers!

And Mike’s:
Coquihalla RiverThis is a composite image of 30 images, made on the trail near the Othello Tunnels outside of Hope, BC. Fortunately it was a relatively windless day, so the images stacked together added to the sense of flow in the water without too much movement in the leaves on shore.

Creating a retrospective is a worthwhile exercise for every photographer. We went through over 12,000 images to choose the 12 for our calendar images! With digital it’s easy to shoot a thousand images a day, but how many of them are your best work?

Now go out and make some images!

Hugs,
M&M